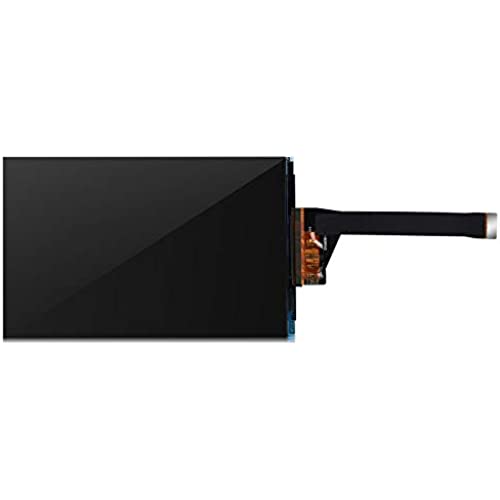
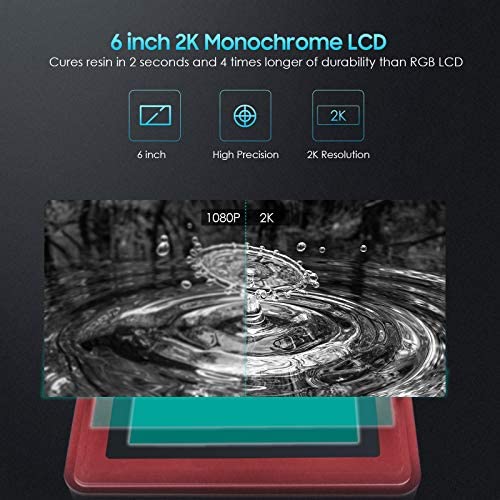


ELEGOO 6.08 Inches Monochrome 2K LCD Compatible with ELEGOO Mars 2 and ELEGOO Mars 2 Pro Resin 3D Printers with 1620x2560 Resolution, Active Area 3.25 x 5.14 inches
-

ivan
> 3 dayis a good option for the voxelab Proxima. I recommend it
-

Brian Lynch
> 3 dayPretty quick and fairly easy to replace screen
-

Jake Mouse
> 3 dayMy previous screen wasnt having any major issues but had a little bit of hardened resin on it so I wanted to swap it out with a new screen while I was doing maintenance When I swapped out the new screen it now fails the exposure test and only shows the horizontal lines and not the Elegoo logo. :( Ive cleaned the connectors, verified it was installed correctly, and any post I find online with a similar outcome says either the screen or motherboard is failing. Ive absolutely loved my printer and hope this is just a 1 in 100 fluke
-

luis evelio molano
Greater than one weekExcelente para la creality ld 002h
-

Michael Kelly
07-06-2025Instructions were a bit unclear and I wasnt aware of the glue securing the old screen so removing it was quite difficult. The screen I received was faulty. However Elegoo customer service got back to me very quickly to troubleshoot and replace the screen.
-

Thomas Gonzales
> 3 dayI’ve now replaced two LCDs (always check your vats are sealed properly lol) And both times these replacements worked amazing! The install is easy with help of the YouTube video
-

C. Dill
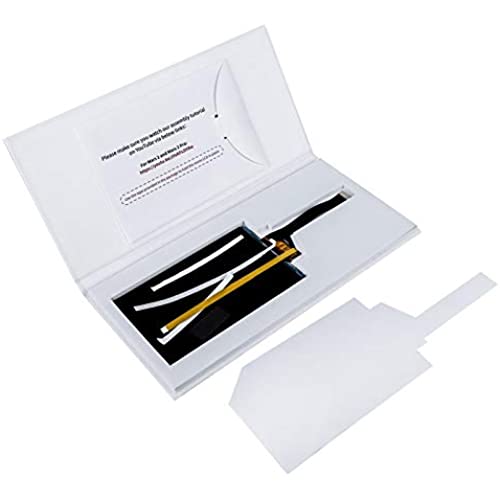
> 3 dayAt this point, there are a couple of other reviews that mention some of the caveats you need to be aware of if you consider ordering this product in order to initiate a repair. The product comes with a link that points you to a tutorial video, but it seems to neglect a few steps here and there. One of the first minor gripes is that when you attempt to remove the front panel on the printer to get at the circuit board, the fit might be so snug that you may think that there are hidden screws or something that you overlooked, but you may have to put some significant heft into prying it off. The second point is much more considerable in nature: what it neglects to mention is that when you remove the old LCD panel, there is a glass plate on the bottom that is attached to the LCD with adhesive. If you simply take the replacement LCD and try and fit it, you will notice that it will sink in and will not be flush like the previous one. Youll have to pry the glass backing plate off (as others have mentioned, heat helps to loosen the adhesive, but if your old LCD is broken or dead it will pry away without much resistance and at that point who cares if it breaks any more than it already has?). There will be small adhesive strips included with the panel that you will have to apply to the bottom of the replacement and fit it over the glass and sandwich them together, then youll have to replace another set of adhesive strips on the bottom of the glass plate if those came away or lost their adhesive grip. Again, this step is completely neglected and skipped over in the walkthrough video which seems like a fairly substantial oversight. Aside from these points, replacement is straightforward and takes relatively little time and theres nothing overly complicated to mess with. Once you get your panel in, its probably a good idea to re-level your build plate to put the finishing touches on the whole process. Otherwise, switch the machine on and run your screen test and Bobs your uncle. The parts themselves are of good quality and are a 1:1 replacement of the original, but I felt that the oversight in instruction was worth knocking a star off and thats probably being generous as some may have a nightmare of a time if they never realize what part of the process theyre missing.
-

Craig
> 3 day*Direct replacement for voxelab proxima printer. *It fit into place and came with blackout sealing tape for the perimeter. No need to use any foam tape, installed flush. *Prints as it should no DOA pixels. *Well packaged arrived in good condition. *Decent price.
-

Kyler Reichel IV
01-06-2025My FEP ripped during a print and ruined my old screen. Glad I could find a new one on here.
-

AngelV
> 3 dayEasy to install . Follow the quick youtube video. DONT FORGET TO WARM UP THE GLUE/TAPE WITH A HEAT GUN ON THE ORIGINAL SCREEN, FOR IT TO COME OFF. That part is kind of glossed over. Also Elegoo customer support is awesome. Gives you great of mind for a company to stand behind its products and will go out of its way to help you out .
