
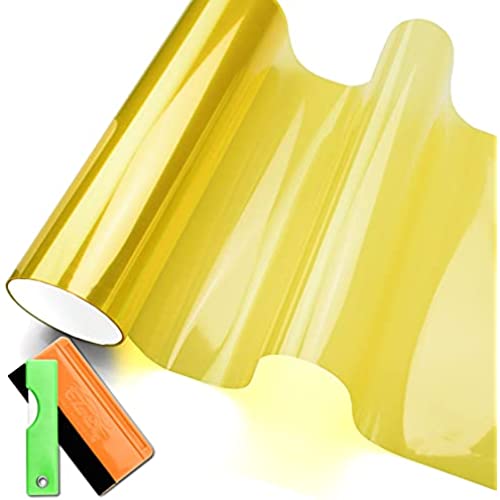
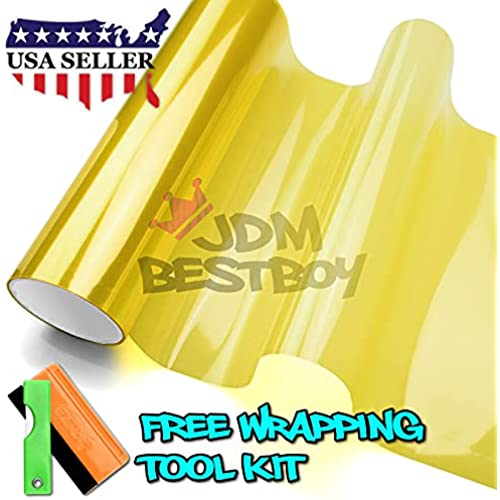
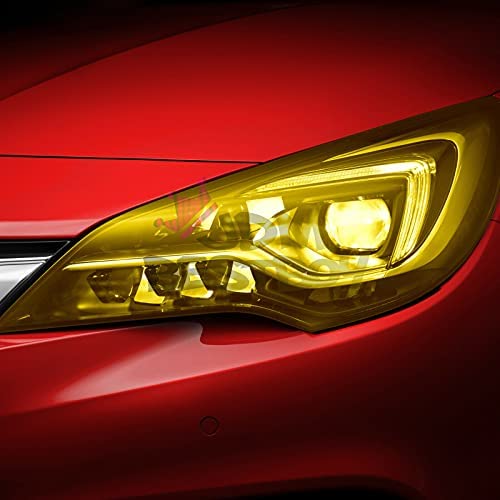
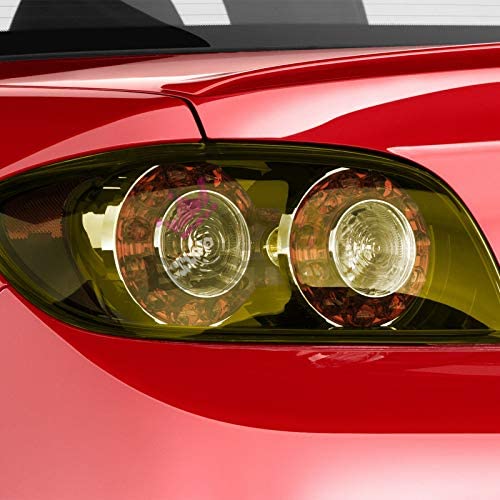
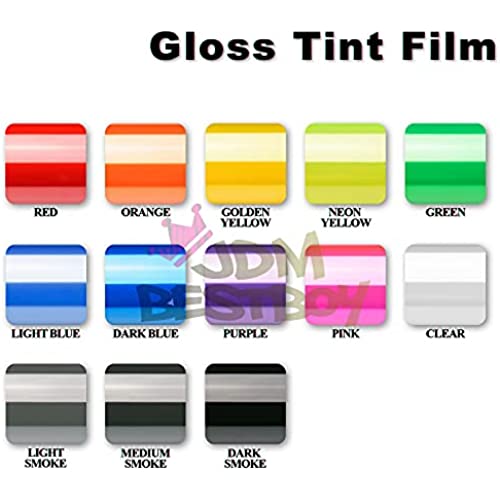
Headlights, Tail Lights, Fog Lights Tint Vinyl Film, Self Adhesive (Small 12X48, JDM Golden Yellow)
-

Tommy
> 24 hourWell it is a film that does change the color of what you cover with it, so that part works to a point. I felt it is a bit lite of a color change, 1 put 4 layers on a white led bar and the bar will still over power the yellow color. Plus if you get a wrinkle any time its very hard to get out, I highly recommend having a heat gun or hair dryer and heat film but be careful not to melt it, heat makes install so much easier. Not sure how it works on curves like a tail or head light but it might if you keep it heated, I would practice first thats for sure.
-
Casey
> 24 hourGreat product. There is definitely a learning curve so buy more than you will need. I applied this to my tail lights. By the time I was done with the first application I had a much better feel for the process. I will remove it and reapply. My tail lights are quite difficult to cover because they run up the whole back of my car so I need to cut the tint in order to turn a corner. Once I learned exactly where I should make the cut it was so much easier. I saw a lot of people complaining about how it was shipped. The seller listened and fixed the issue. The packaging was great. They put a styrofoam stick in the center and held it closed with a zip tie. See attached photo. A tip *** Use lots of soapy water. Lots and lots. And continue to spray it on throughout the application process. Clean the headlights so there is no dirt or residue. Then spray the whole head or tail light with the soapy water. Peel the film off the tint and spray the tint with the soapy water (There is film on both sides of the tint. Make sure you peel the film off the sticky side and spray). (Keep the top layer of film in tact for now as it will protect the tint from getting scratched as you are manipulating and stretching it) Place the film in place with your hand and rub and stretch it with your hand so you remove most of the bubbles. Next, use your tool (credit card w/ cloth wrapped around it or something similar) to further remove any bubbles. If you find you need to lift and adjust the tint go ahead and do so but make sure to respray the light and tint. Now cut the film so it is the right shape and size. Now with the tint the right size you should be able to push all the bubbles out from under the tint. Before you move on to the next step, try to get the tint as near to perfect as possible. Once you apply the heat it becomes more difficult to push any water out from underneath the tint. Next, grab your heat gun, turn it on a low setting and hold about 8 - 12 inches from the surface of the light. You will see the vinyl start to adhere like shrink wrap around the light. Dont over heat or the tint will bubble up or become dis-formed when you are stretching it.. Lightly continue to press the bubbles out with your tool. You will get a feel for when you should remove the heat. And continue to remove the bubbles and applying heat as needed. Once you are satisfied you have removed all the bubbles, remove the top layer of film from the tint. Youre all done. Again, this takes practice so be prepared to have to apply more than once until you get it right. I will update with more pictures once I get it perfect.
-
chris snow
> 24 hourInstalled this film on a O3 GX 470 fog light. The film scratched easily during install. The squeegee and knife were useless.
-
KiwiMarie
> 24 hourGot delivered in a decent amount of time. Put on my bow fishing boat and they worked great to help dim the light for the water.
-
Jessica Dach
> 24 hourThin film hard to work with
-
jeffrey Kovacik
> 24 hourGood product got it quickly
-
John Willwerth
> 24 hourUsed this to tint my headlight for my 81 cm400t tracker project. Gives a damn nice tint to the light. Its a lighter ember than buying an amber light so it sets it apart a little bit. Makes for a great classic look on her. Nothing but compliments on it. Easy enough to install. Little ripple in it for the rounded application, but thats on my installation not the product. Id definitely suggest it for anyone that wants a good product for a great price.
-
Robert
> 24 hourIt works great and you can honestly rewrap these once every few months for years with the amount given. I just did a pretty bad job on the edges so thats on me. overall great value
-
Mom
> 24 hourGreat price works great on flat or curved surfaces but not bulb shaped head lights, still love it and it sticks very well A++


