
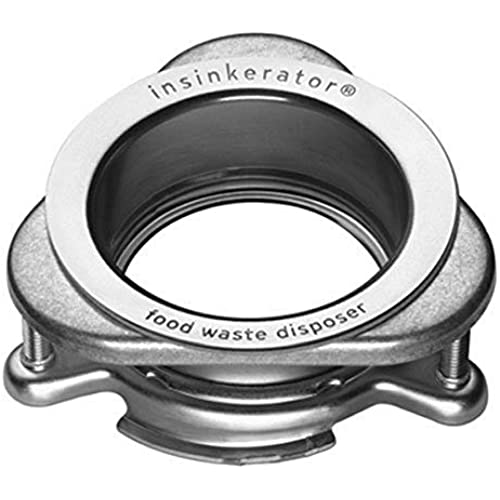
InSinkErator QLM-00 Flange Quick Lock Disp Mount, Stainless Steel
-

Ron
> 3 dayPerfect replacement and cheaper than at the local hardware store.
-
SandraP
> 3 dayIt works perfectly. However incredibly annoying that they feel like they have to make this with their advertising engraved into the flange.
-
Cynth
> 3 dayWorks as expected.
-
PoochMania
> 3 dayPrice is better than local hard ware store. Also quality is better in my opinion. I am happy with my purchase.
-
Samuel
> 3 dayQuick Lock? I fail to see how this accessory is different from the parts that came with my Badger 1 Insinkerator kit. Theres nothing easy about it. You cant simply twist one way or the other to install it. Its a primitive system of installation that hasnt been updated since the very first waste disposal: 1. Remove the old system. 2. Replace with the single unit Plate + Flange from the top of the sink. Instructions say to use plumbers putty under the plate to seal out leaks. No evidence of putty in my sink and no leaks. But I see that other disposals include a rubber ring for placement on top part, just beneath the plate. 3. From underneath the sink, get 3 different accessory parts placed in the right order and lift them up unto the Flange protruding through bottom of the sink. 4. WARNING: This is the 1st HARD PART, esp. if youre alone and doing it the first time. Put the SPLIT SNAP-RING into the bottom crease of the flange. (Holding the flange with 3 attached accessories in one hand and snapping the split ring in place with the other hand is a B#@CH! Unless you have strong hands and are experienced or lucky, youd be better off finding a 2nd person to perform what is a 4-handed operation (if theres room for both pairs of hands). (The only reason I ordered this extra kit was to obtain another split ring to replace the one I bent beyond repair.) Come on Insinkerator! Help out a do-it-yourselfer. 5. Tighten the 3 screws (if you still have all 3). Now comes the 2nd HARD PART: Lift up the disposal (even the ⅓ hp Badger I weighs a ton) and screw it into the assembly youve just created. This time you will need strong biceps to hold and manipulate the disposal in one hand while holding the flange et. al. with the other! Moreover, if you have no room to lie directly underneath the disposal, you may not see enough of the mount for even the biggest bicep to hang on long enough to position the disposal unto the right thread. 6. Finally, you need to attach the two hoses--one to the washer; the other to the sink. This may requiring undoing some if not all of your previous work to ensure the hoses are in a place to make their connections. 7. Wait! If you havent done it, try every circuit breaker or fuse until you fine the one for your dishwasher and disposal. Turn it OFF! You now need to wire the new disposal to the old wiring, using appropriate nut screws. 8. If you make it this far, just hold your breath and hope things work out once you flip the switch. Perhaps your old disposal wasnt broken after all. If not, dont expect better results from the new one.
-
Orland Schuppe
> 3 dayEasy installation. Could not ask for anything better!
-
DonDor
> 3 dayWas east to install and looks great in my new sink.
-
BocaBuyer
> 3 dayWe had a new stainless steel sink installed and wanted to replace a 20 year old flange that was showing signs of its age. This is original equipment and expect it to last the same as the original.
-
Allison M.
> 3 dayPerfect replacement and great price!
-
jlos
> 3 dayFit perfect. Looks good. Still shiny a year later.

