
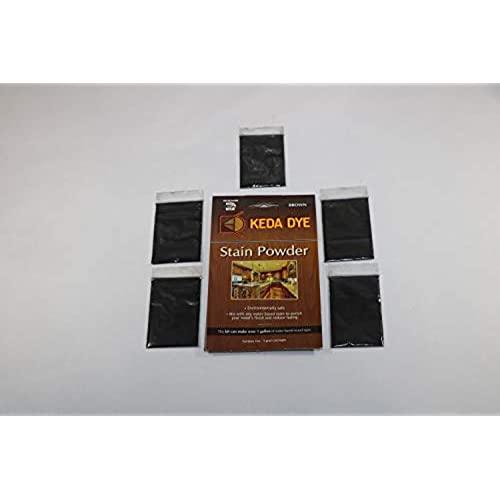


Keda Golden Brown Wood Dye - Keda Powder Dye
-

S. Millar
> 24 hourI really like this dye. It’s easy to mix and looks great. I used this on a hardwood floor. It’s a mix of Ash, Oak, and Catulpa. Tiger striping and natural shapes were enhanced by the dye. I sealed the dye with Sealcoat. (Dewaxed shellac). And top coated with a waterborne polyurethane. For a 300’ sq room I mixed ten cups of dye. I used brown and red. I have about two cups left over, but it always better to have extra mixed when you’re making a custom blend. Follow the instructions and make some test pieces somewhere. I like to mop the floor before I do the final sanding (120). This gives me a chance to sand off grain and dents that will rise. I also wet a section of floor as I dye so the dye never hits a dry edge. Make sure you seal with sealcoat if you’re using water based finish. Anything water based you put on the dye will reactivate it. Sealcoat is very fast drying. That’s why it works.
-

Ajegunle
> 24 hourWorks as advertised
-

tim shea
> 24 hourGreat product quickly sent
-

AllBarnWood
> 24 hourWhen put on light wood...it just came out yellow. Not going to be able to use
-

Joshua D.
> 24 hourI love wood dye, because it seems to give a much nicer end result than just wood stain. This wood dye does the job wonderfully. I used it to dye some pine doors that I gave the DIY shou sugi ban treatment to, and they came out GREAT. It turned plain pine doors from the big hardware store into what looks like a rich hardwood, at a fraction of the price. Ill be ordering a lot more to do the rest of the interior doors in my house. Some tips: Youll want to get some cheap containers to keep the rest of the dye in after youre done with your project. I found some glass ones with screw tops on Amazon, but then discovered I could have got similar ones for even cheaper at my local medical herbal supply shop. They use them to store wax concentrate, and they work great for this stuff, too. Also, I didnt want to risk the dye coming off on the carpet when the door rubbed slightly when opening, so I put a poly coating over the doors when done, which worked fine with this dye. I also didnt want to deal with any grain rising on my already-constructed door (a lot more time-consuming to sand all the small bits down by hand), so I opted to pre-treat the wood with a shellac/alcohol mix to avoid that. Then I also used alcohol as the base for the wood dye. The dye soaked in beautifully and there was no splotching, except for a small spot that was my fault. (I applied it too heavily and didnt notice the dye seeping through to the other side of the door when it was on the sawhorses. Live and learn.) The end result is gorgeous and looks so much better than just regular old stain. I did mix this product with a little bit of red dye from the same manufacturer to really get a beautiful hardwood color. I think I used a 7:3 ratio, but I really should have written it down. Anyways, the application was super easy with some cheap giant sponges youd get for masonry work -- one to apply, and a dry-ish one to remove the excess. Due to the alcohol involved and the not-so-great sanding job on the doors, it would eat at the sponges while I worked, but the sponges were so cheap I could just grab a new one and continue. I was left with some sponge flakes afterwards on the doors, but unlike working with stain, stuff didnt get stuck to the surface -- I just blew them off with compressed air when it all dried. I really recommend watching some videos to show the application process before you try it out, if you havent worked with wood dye before. Overall, I cant rate this product highly enough. Its a bit more expensive than stain from the hardware store, but not much once you mix it with your base liquid, and the results punch way above its weight class for the price. Ill be buying this product for years so long as they keep making it.
-

Redflash
> 24 hourWorked well in an oil based clear wood sealer on my butcher block tables. Final coating top with food quality linseed oil!
-

Dustin
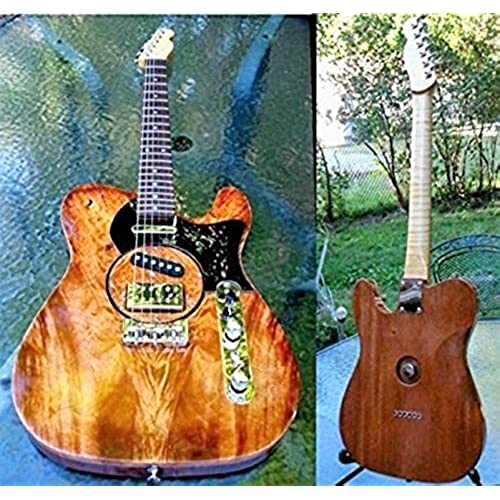
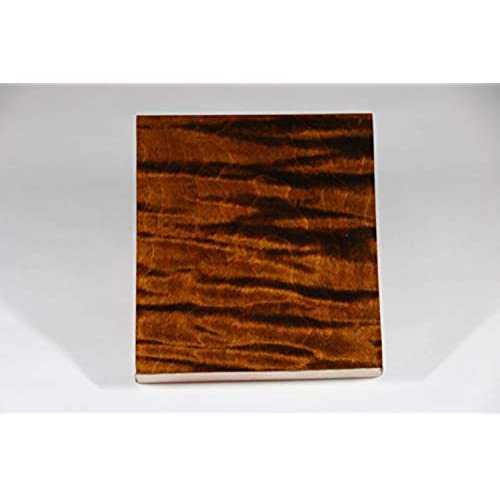
> 24 hourUsed the dye to bring out the flame in my roasted maple neck. Did a sand back and dyed once again and loved it. It’s easy to dilute and use. Very impressed
-

joseph otto
> 24 hourLove this Dye it’s my favorite I have used the pre mixed alcohol based dye and this powder dye is far superior because it gives you total control over how dark or light you want your dye by just adding more or less water as far as mixing it’s very easy just dissolve in hot water and stir the package has very good directions on mixing the colors included are very vivid and makes your projects really pop pic is of a 69 Hammond B3 I refurbished I used the brownish/gold dye on the walnut top
-

TLF
> 24 hourAfter purchasing hickory stair treads for our home remodel, I was interesting in matching the hardwood floors we installed but wanted to keep some of the characteristics of the hickory. Knowing that hickory doesnt take stain very well, I set about educating myself on alternatives. I learned all about dyes and how they work and how to use them. I Kedas dye kit to develop a color match for the existing floors. After three tests, I had the formula that matched perfectly. I then purchased this dye, as well as two others to make the large batch I would need for the treads. One note, I did not use water as my base, I used denatured alcohol. I highly recommend this product.
