
Lift Supports Depot Qty (1) Fits Crossfire 2004 To 2008 Hood 5101653AA PM9032 SG103002
-

Mparks
> 3 dayPerfect fit, installed in 20 seconds!
-
Sadie Padberg
Greater than one weekWas actually surprised this came with the sleeve not just the lift. It was not necessary since I had a working sleeve. However, I did just install the whole thing new. Propped the hood up, removed the two retaining clips, removed the lift, placed the new on one, added back the clips. All done. Took make about 10 minutes.
-
Brian D. Frick
> 3 dayWorked perfectly on my 05 crossfire. Old struts lasted 13yrs. I hope these last just as long they seem like good quality so we will see
-
Todd linam
> 3 dayFit like a glove
-
Richard
> 3 dayHolding the hood up.
-
Jd
> 3 dayFirst one I bought lasted 2 years but car was stored and hood was left open for trickle charging. Hopefully this one lasts longer.
-
Roger A. Kays
> 3 dayThis hood lifter was easy to install and priced at a fraction of the cost of the original.
-
Dave J.
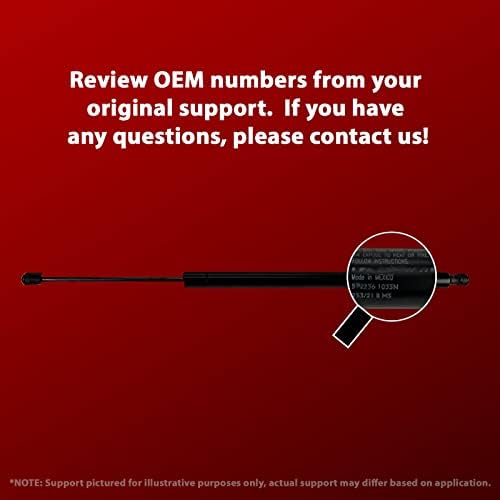
> 3 dayMy car is a 2005 Chysler Crossfire coup. Was as advertised. Make sure your car takes a loop on the end not a threaded stud. This fits the loop cars perfectly! Instructions on on plastic sleeve as paper in package is not in English. After installing works perfectly! Only open and closed 4 times but was without effort or bind. Will hold hood in any position. Excellent vendor and buy!
-
R. Winn
> 3 dayThe price was incredible for OEM replacement parts.
-
Brain King
> 3 daySo easy to install . Works great

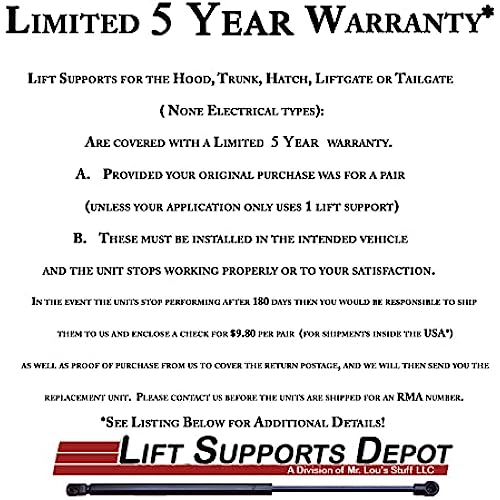
Why Purchase from Lift Supports Depot?
|
|
|
|
|---|---|---|
Premium Quality SupportsLift Supports Depot supports undergo a vigorous QC process to help ensure dependability. Lift supports internal components get assembled and mechanically tested to ensure internal parts are not installed incorrectly or missing. OE quality seals are incorporated to prevent low friction losses and oil seepage. Airline hydraulic oil helps to avoid crystallization and blockage during cold weather. After painting and curing, lift supports are tested again for pressure and printed with final product information and lot numbers for traceability. |
Vigorous Quality Control ProcessThe supports are pressure-filled and tested one by one for forces to be within accepted tolerances. Pressurized lift supports go through a pre-paint phosphate treating process, which helps the paint adhere properly to the body of the lift support and gives a long paint life. Most importantly, an automated paint cabin is used for painting and curing in one place. Our lift supports never have premature rusting at the extremities due to the capillary effect of paint in bent areas. |
Easy to InstallMost applications are quick and easy to install. Often times requiring nothing more then a flat headed tool to remove and replace. The hardest part is often finding someone to hold the Hatch or Hood while you swap them out. |


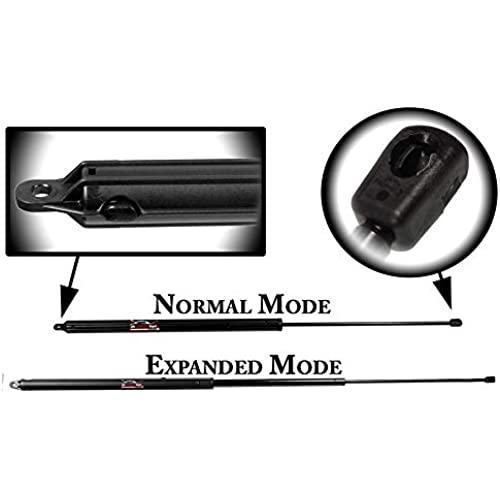
Insert a Flat Headed tool behind the U-Band.

Slightly Pull Back on the U-Band, allowing the claw to release the ball stud. Careful that you do not remove the U-band from the Support.

Place new support over the ball stud and press the ball socket over the ball stud.

Once this has been completed for all mounting points, carefully tug to ensure all ball sockets are secure on ball Stud.