
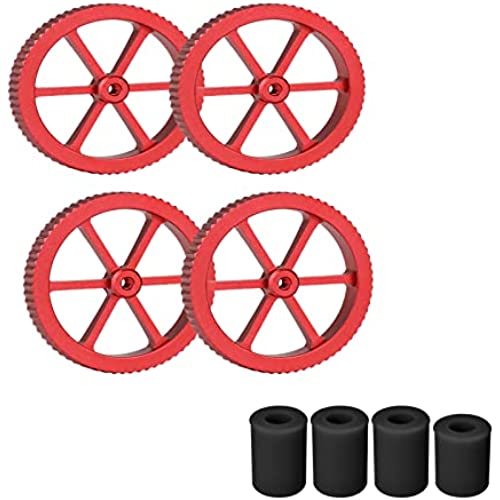
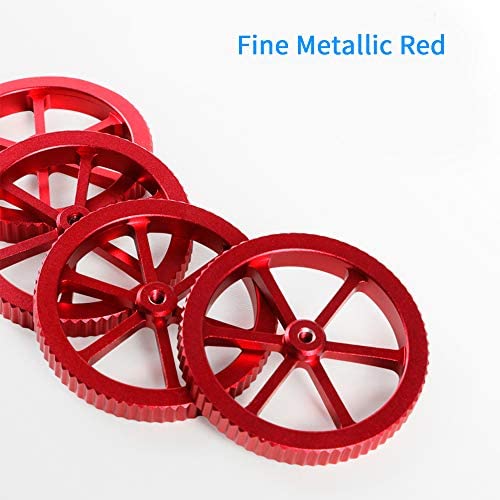

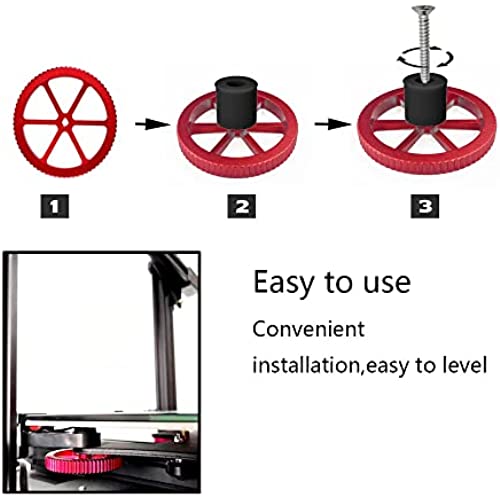


Ender 3 Springs, Creality Upgraded 4pcs Red Aluminum Hand Twist Leveling Nut & 4pcs Black Heatbed Silicone Leveling Column Mounts for Ender 3/3 Pro/3v2 3D Printer
-

Wayne
> 24 hourYoull need a little creativity to assemble with stability rods.
-
chase
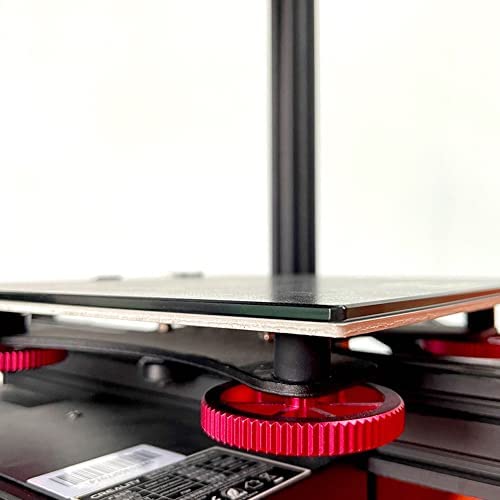
> 24 hourGood quailty and nice fit!! One tip! If you are intending on using a belt in conjunction with this kit, print risers for the motors so that the lead screws will stick up above the top of the stabilizers that come in the kit. That way you have enough rod for the belt pullies to fit on top. Thingiverse has a file for 1cm riser that works perfectly. This picture is without them as I didnt think about it until after I installed it. Now I will have to print them and go back and reinstall. Here is the spacer link(add this to the end of the thingiverse URL right after the .com Amazon may not allow a full link): /thing:5367399 Happy printing!!
-
Mildred
> 24 hourI switched to these leveling screws because the springs on my ender 3 V2 were different heights. It was much easier to level the bed. However, I still run into trouble with the screws coming off and having to relevel because there was too much movement.
-
Optimus prime
> 24 hourSo I’m rewriting my review. Initially I kept my Z limit switch in the factory position, I was new to 3D printing and didn’t know much about adjusting it. After lowering my Z limit switch a few mm and tightening up the bed screws it really brought this printer to life, now I seldom level my bed, I do check it periodically but it’s never really off by enough to matter. I’ve now added these silicone mounts to 2 different printers and With some fine tuning my prints have came out amazing
-
Kevin
> 24 hourThis is a very worthwhile modification, it made my horizontal bar rock solid. The reason I got this was because I could never get the guide wheels on my carriage tight enough to track correctly. I noticed that during bed leveling when there was a lot of movement in the z-axis that the motor side of my horizontal bar would start moving slightly before the other end. This second motor and screw set stopped this problem entirely. They also included some screw stabilizers for both sides of the printers vertical arms which was a nice touch. I did need to very slightly shim the new motor away from the vertical arm because it was binding up a little at the bottom of travel. Another reason I got this was to help support the Sprite Pro Extruder/Print head I added. Not sure if I really needed to but it made sense because of how much bigger and heavier this but of equipment was compared to the original print head the Ender 3 Pro came with. The only reason I didn’t give this a 5 was the need to cut the ends off the carriage mounting screws so it would fit my Ender 3 Pro. I thought they might consider at least putting some shorter screws in the package to eliminate this problem for the future.
-
Garey Pula
> 24 hourPut these in and you will hardly ever have to relevel your bed. The wheels are nice but the edges are a bit smooth so your fingers will slip.when tightening them.down some.
-
JVK
> 24 hourOn my Voxelab Aquila (Ender 3V2 clone) then stock springs are about 1.5g each, and stock knobs 12g each. The silicone spacers are 4g each, and the pretty aluminum knobs a whopping 23g each. As the Y axis is the worst place to add weight, Im using the spacers but forgoing the pretty knobs to save weight.
-
Joshua C.
> 24 hourThis is a great upgrade with some exceptions. You have to level them with some printed leveling blocks before printing unless you get anti backlash nuts then it reduces this to just checking to be sure they are level every so often. Also the supplied upper bearings holders are good but will bind if not aligned correctly I leave mine slightly loose so they go with the flow otherwise I had binding issues over time. With them loose and able to have left/right movement I have had no more issues. Print knobs for the top of Z Screws so you can hand turn both z axis screws for leveling gantry when needed as well. Once printed thro a dab of super glue in the top and screw knobs on.
-
Lyle
> 24 hourTricky install and a lot of tweaking, but great for my Ender 3
-
Anthony Alioto
> 24 hourWorks with my Neptune 2S however it is meant for a ender 3 so you’re going to need to buy a matching stepper motor as the kit has to replace original. Also you’re going to need to drill directly into the frame with self tapping screws for the power supply mount, the stepper motor mount AND lead screw guide. DO NOT OVER TIGHTEN AND SNAP THE SCREWS OFF INTO YOUR FRAME LIKE ME.


