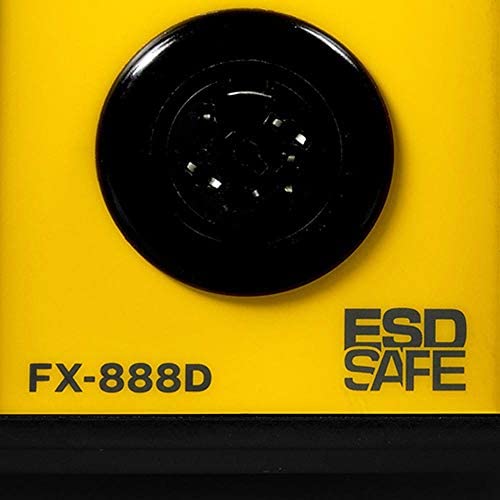


Hakko FX888D-23BY Digital Soldering Station FX-888D FX-888 (blue & yellow)
-

Andy S.
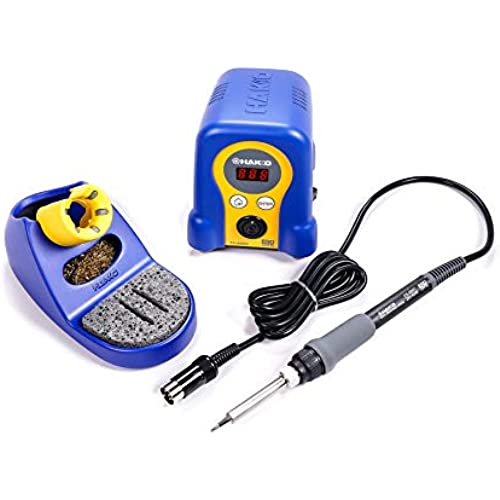
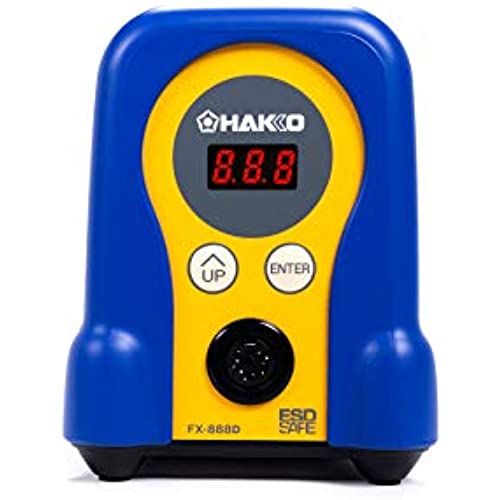
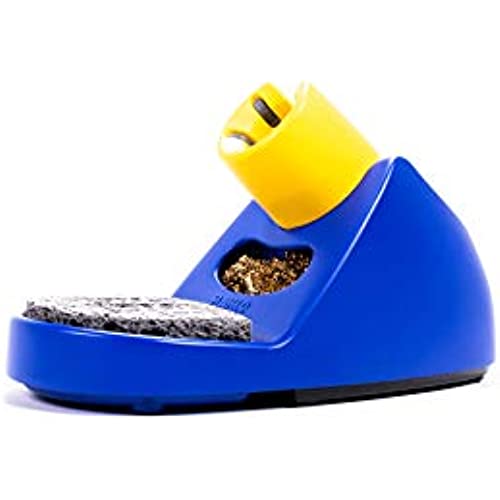
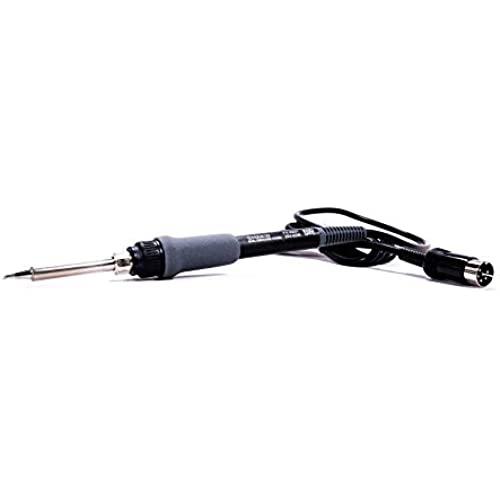
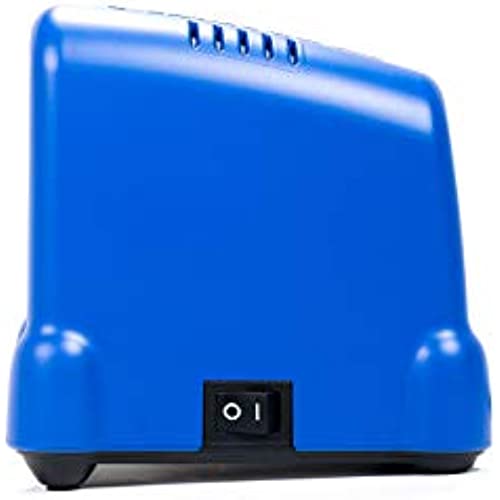
> 24 hourIm a light hobby user, so this product is probably overkill, but when I needed to source new elements and tips for my Weller pencil-type irons, I decided to consider a controllable station instead. The FX-888 heats up quickly (MUCH faster my old Weller irons), and provides great results. The adjustable temperature allows me to use one tool for various tasks, and tips are readily available. The cord connecting the iron to the controller is very supple, so moving the pencil around while working is easy. I just wish they had considered this for the power cord, as its quite stiff. The base is sturdy and well-weighted, and the built-in cavity for the wire-mesh iron cleaner is a plus. One drawback is the lack of a power on indicator. The flashing ready light is in a poor position for visibility, and can be easily missed if you look at just the right (wrong?) time. I will be adding another LED in the top of the unit. Im also not keen on the brightly-colored and contoured appearance of the unit, but styling is subjective. Id also prefer the holder and controller be joined units for easier portability, but this is a minor inconvenience. Overall, Im very satisfied with the unit, and am pleased with the purchase. SUMMARY: PROS: Heats quickly Good range of temperature adjustment Wide selection of tips available Flexible iron cord Sturdy base with tip cleaner CONS: Fisher-Price styling Controller and base are separate units No power-on indicator Poor Heating LED placement Stiff power cord
-

Solarbird
> 24 hourIve been doing electronics work for a long time - both for fun and at radio stations and my home recording studio - and Ive used a lot of irons. Ive used mostly the pencil sort and not paid any attention to how worn the tip was and such, because Ive always thought of the extras more as frills, and if I can do surface-mount laptop motherboard repairs with a 25w Weller, why do I need anything else? Because it makes life easier, thats why, and I was an idiot. Sure, its not as portable, and I still have my pencil irons for when I have to reach into cabinet equipment, but on the whole I wish Id had one of these 10 years ago. Mostly I just love the speed; theres no wait to speak of for heat up or cool-down, you dont have to dive in and out super-quickly for temperature-sensitive components, and, most of all, I dont have to worry so much about some of that stupidly fragile (and heat-sensitive) insulation thats floating around out there in audio cables these days. I havent had to re-do a cable end due to insulation heat failure since I bought this iron, and I _very_ much like that. I put extra tips in the back behind the metal sponge, and it all just fits together nicely. Its a lovely little design. If you dont like the looks - and I think it looks fine, I dont know what people are complaining about - wait till its out of warranty and paint it. But buy it, regardless. Its a good little iron.
-

Earwigger
> 24 hourIve used the cheap wands for 30 years with their cheap tips, overly stiff cords, slow heating times, etc. Balancing them on desks, printers. dashes, floors counters, stove tops - inevitably their tips coming into contact with something that smells when it melts or the stiff cord slowly pulling the iron off the surface and on to your lap, leg, carpet. I FINALLY pulled the trigger on this unit. I was reluctant because it is TWO pieces instead of one and my Go-Bag is designed for maximal efficiency. This thing is AMAZING. It heats very quickly, has a very flexible cord, a GREAT stand for the iron and I love the built-in cleaning sponge and wire. It has a very comfortable grip as well for those long circuit building projects. I will never go back to the crappy wands. Technically, this would have to last 10 times longer to pay for itself - but thats not the point - this is a PLEASURE to use vs. the cheap irons. Plus, the stand and the built in cleaning features will keep the tip in better shape, longer - so it is certain to last at least several times longer than the cheap wands.
-

Michael
> 24 hourWhile I had read all the really good ratings and heard good things about this brand and model, I was surprised how sturdy everything was.
-

Melanie S
> 24 hourWell built adjustable temperature this is the one to buy
-

William N.
> 24 hourI Like the digital temperature display and it does warm up fast. I changed out the tip that came with it for a larger one for the type of projects I am doing. The small tip does work well for finer detailed projects.
-

JCHaywire
> 24 hourHakko is a big name. Their desoldering tool is the best there is--but this soldering station is a hassle to set and doesnt hold temperature all that well. It also doesnt recover quickly. At least not as well as my old Youyue 858D (who?) which had a single temperature knob. One touch. The Hakko, on the other hand, requires several presses to set the temperature. As much as I wanted to love this iron, it slows me down. I recommend the popular cheapo alternative. Not the 888D.
-

Mr.T2U
> 24 hourIve had the same old Ungar iron for over 20 years, but Id been wanting a multi-temp unit for a while. I waffled between the Hakko and analog Weller and eventually settled on the Hakko. Once you get past the Fisher Price colors, youll find that the unit is pretty nice. Like everyones said, it gets to temp insanely fast, and I really like the integrated sponge/wire cleaner. The footprint is pretty small, and the iron cable is flexible. Ive had the chance to use the iron in a few different scenarios like normal soldering for components on my 3D printer to some thicker R/C motor wires that my previous iron couldnt get through. The menu process can be a little counter-intuitive. Out of the box my unit had no presets configured. And it took a while to figure out oh, I need to enable presets and then go in and put temps in. Once the presets are in then its simple to quickly go between them. But then I wanted to change a preset temp and had to go back and look up how to do it. Im sure its a matter of just getting used to the unit, but this was a good example where I wished Id got the analog Weller so Id just have to turn a knob.
-

Tyler Forge
> 24 hourUpdate to original review: Ive pulled my old Weller back out of storage. The specific issue is that this Hakko isnt nearly as good for soldering quad copter power leads. The leads tend to be 12 or 14 gauge (I match the leads on the battery I intend to use). It is the ground wires that are most difficult because the circuit boards tend to have heavy ground planes. Sure, I can do the job with the Hakko, but it got annoying after the Nth time. That old Weller makes it fast and easy. Sadly, I hear that the new Wellers dont match up to the old ones. Other than those power leads, almost everything else I do is a lighter job for which the Hakko works fine. ------- Its amazing how the price of these things has changed over the years. This Hakko is replacing my 30 year old Weller. That old Weller doesnt have temperature adjustment and its one temperature was dropping. It was time for a replacement. This Hakko station does everything I want and that brass wool thing is great for tip cleaning. Still getting used to the adjustable temp though. Basically though. its a soldering iron. No surprises there. Flip the switch, it gets hot, melts solder, etc. No drama. The soldering iron is more like a pencil. No problem because it gets hot fast and gets the job done. If I were doing a lot of soldering - as in it were my job, Id have probably gotten another Weller but with adjustable temp. They are more industrial and my old one lasted me 30 years. Thats a strong recommendation. For now, though, I may solder for a few hours on the occasional weekend when Im assembling a quadcopter or arduino gadget. No need for the expensive industrial tooling.
-

Adelbert Hirthe
> 24 hourThis should be everyones 1st iron. Well built, aesthetically pleasing, ergonomic, powerful and accurate. This would have made my journey into to soldering a lot smoother and more enjoyable had it been around when I started. Night and day from the cheap irons. Maybe the programming needs an instructional video watched, but Youtube has plenty of how to videos out there. This setup will handle any casual or hobbyists tasks with ease. It really is a quality soldering station. Tips are cheap enough, but the included 1.6 x 10mm chisel will handle 90% of jobs, and last a long time if taken care of. Watch a few tip care and maintenance videos and this will be the only station most will ever need. Parts are easy to acquire and cheap to replace if necessary. This also performed better than the Weller WE1010 head to head. Warmed up quicker, held temp better, and has less recovery headroom than the Weller. Cheaper too.....!
