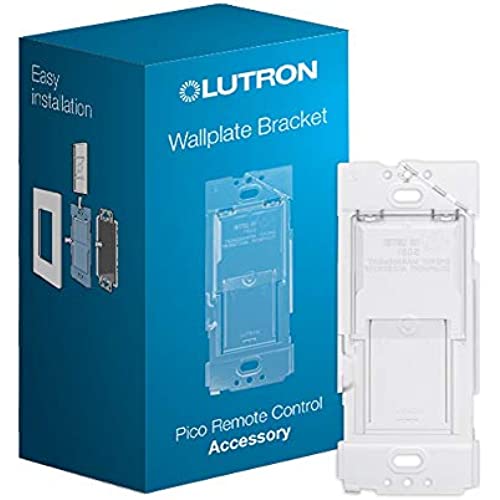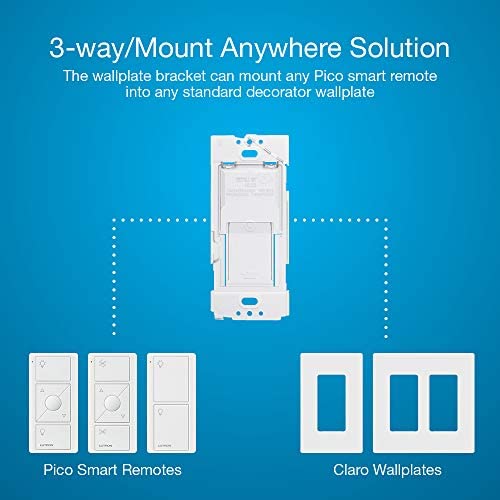


Lutron Caséta Wireless Wall Plate Bracket for Pico Smart Remote | PICO-WBX-ADAPT
-

Jason
> 3 dayMay not be, but the plastic feels cheap, kept thinking it was going to break (it didnt). I wish this product was included in the kit or at least sold in stores since it was either pay as much in shipping as the product or bundle it with other products to get free shipping. Still, the product worked exactly as it was supposed to.
-

AliasForSpam
Greater than one weekworked like a charm - I was expecting this to come with the starter kit though.
-

Jacob C.
> 3 dayEverything Lutron makes is just so polished. It costs a little more but with that you get a superior product with outstanding us-based support. I cannot sing praises of this company enough. Enough with fiddling around with the old imported junk and now I deal with Lutron products developed by people who know what they are doing and build it with pride. Simply amazing, amazing, amazing. Anything I could think of to improve these switches has already been thought of.
-

Hemant Shah
21-11-2024Nice product, perfect fit
-

Sam Dowd
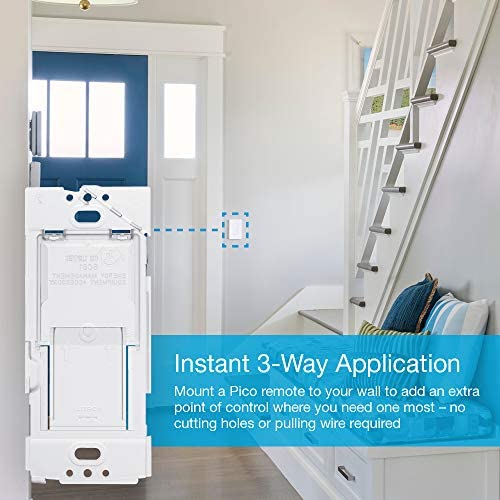
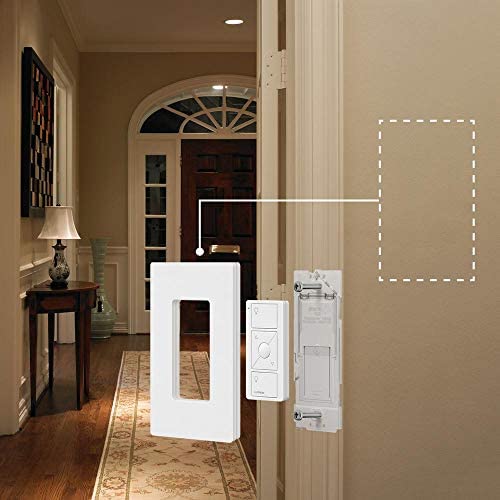
> 3 dayExactly what I was looking for. I had a Lutron switch with an extra Pico remote, and had replaced a 3 way switch. Instead of setting up the switch to be a 3 way switch, I just used the Pico remote as the second switch. To do that, I needed to make sure the remote didnt walk away, and needed to fill the spot in the wall where the remote was. This worked perfectly. It fit in the box with no issue, and the remote slipped in very nicely. I was impressed with how useful/practical this was right away. Perfect solution.
-

Bruce D
> 3 dayIt holds the Pico remote well. The end tabs are a little thicker than a switchs, so it is difficult to snug up the face plate with an existing multi-switch faceplate.
-

Jim H
> 3 dayGreat.
-

jll900
> 3 dayIts a wallplate!
-

Gen
> 3 dayExpensive for a piece of plastic but it is an absolute must have for Pico mounting. And it is great.
-

mgs
> 3 dayI could not get the Pico remote to slide onto or into this bracket. It just didnt fit no matter what I tried. The videos I looked at made it look real easy. But mine didnt work at all. For fear of breaking the plastic, I finally gave up and used double-sided tape to stick the pico remote onto the bracket and then attached the bracket-containing Pico Remote to a wall plate that covers the wall box. It looks professional despite the fact I couldnt attach the Pico remote to the wall bracket according to the instructions. And, by the way, the instructions really suck. The people who write these instructions really need to learn how to communicate better. UPDATE : Several days after I wrote the above review, I figured out how to get the Pico Remote to slide onto the Wall Bracket. Of course, what Im about to tell you is NOT in the instructions and the dumbo at Lutron support who I talked to didnt know how to do it either. But here is what you do: 1) I removed & discarded the cover Plate (see instructions diagram) because I was mounting this on a wall surface. 2) On the back of the Pico Remote there is a brownish-yellowish backing tape. 3) REMOVE this backing tape to expose a squarish piece of plastic. This squarish piece of plastic has what looks like two cut-out holes in them. REMOVE this squarish piece of plastic altogether. (It slides out). You now have a space on the back of the pico remote which will accept what the instructions refer to as the bracket support on the wall bracket (i.e. the piece of plastic on the wall bracket with 2 arrows on it). 4) NOW, the Pico remote will slide onto this bracket support. This ENTIRE bracket support piece slides into the space you just created in step 3 on the back of the Pico remote. (The bracket support is like a key, and the space on the back of the pico remote is like the lock the key fits into). Just insert them together until they fit. Why couldnt the instructions contain the steps I just described?
