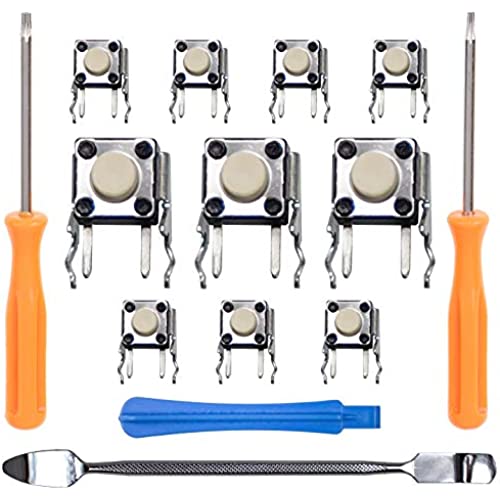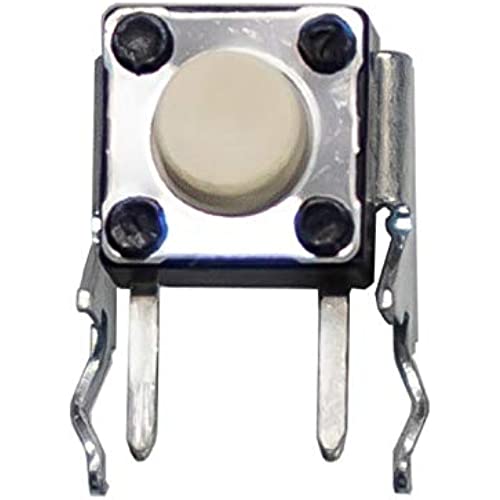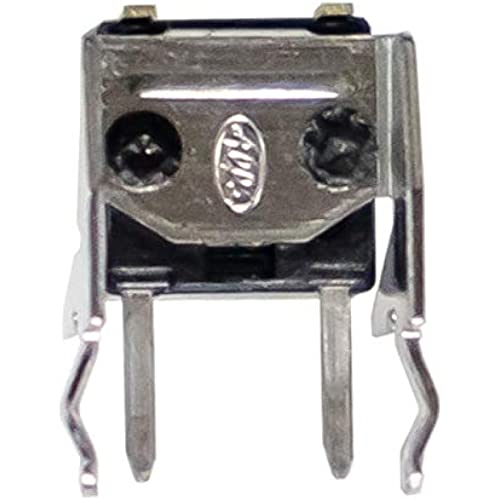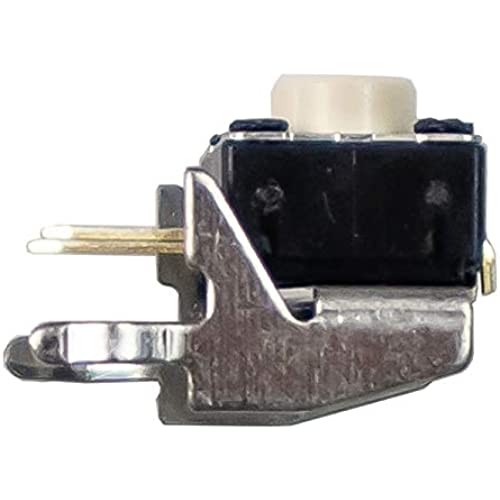


SOSS GAMING 2021 Tactile Switch Repair Kit for Xbox One Controllers Base Model, S, Elite Series 1, Elite Series 2 - RB LB Bumper Button Repair & Fix (10 Pack)
-

Daniel B
> 3 dayThanks for making a great video describing the process and for selling an easy kit to fix an elite series 2. I just did the repair and my bumpers work perfectly again. Thank you sir.
-

Conrado Baumer Pires
> 3 dayVery good product and fast delivery
-

Cee Dubb Tee
> 3 dayWell, as most XBOX One Elite 2 controller owners know, the bumper buttons do not last. I ran into that issue sometime earlier this year. Was using my regular controller but then I realized, bro, you spent $200 and you’re a tech, fix it. So after watching YouTube video that recommended these I purchased them. Super easy install if you have any type of electrical components replacement experience. I rated the longevity low because I’ve only had them in for about a month or so. But just by looking at switch you can tell the build quality is definitely different and hopefully it translates to better. Anyways, I would still recommend them because anything is better than the ones that come installed in the controller.
-

Jay Heckstetter
Greater than one weekThe buttons are a exact match for the Xbox controllers. To install them takes some time. Removing the buttons and resoldering the new ones is not a quick task. Advanced soldering skill is required.
-

Oscar Eduardo Gil Rivera
Greater than one weekcalzo perfectamente a mi control elite series 2, y ya mas de 6 meses de uso, hasta el momento no me ha fallado.... RECOMENDADO
-

CJ
> 3 dayLike many others, I had issues with the bumpers on my Elite Series 2 controller. The processed of soldering these in seemed a little daunting at first but ended up being super easy. Fixed my issue completely.
-

amy
> 3 daySaved me $150 on a new controller. Was able to install without removing the rumble motor wires, just be super careful if you attempt that, they are really thin.
-

Mitch Maye
Greater than one weekThese helped me a lot! Saved me $180 for a brand new controller and they work great. Installing is a pain but that’s the controllers fault not these buttons
-

Lonnie D
Greater than one weekHaven’t installed yet. Got new controller
-

Ohms
Greater than one weekI learned to solder through youtube videos. Burned so many tips up before that. The concept seems so easy, and for some, it is. I am not one of those people. I am a perfectionist and with soldering the more you try and make it perfect, the more you mess it up. My first solder challenge. The rumbled packs. Four wires per pack. Super easy. Get tip hot and tap the wire and they come right off. Now, putting them back is a little tricky. Dont hold the wire to the solder point and try to tap it with the iron. As soon as the contact melts the wire will move out of place. Instead, touch the iron to the spot on the board with some solder on the tip of the iron. Move the wire into place and hold your hand steady while lifting the iron off of the board. Okay, practice is over. To remove the switch, I made sure I put flux paste all over the solder points, got the iron nice and hot, grabbed the switch with a pair of pliers, and just like in the video on youtube, kept the iron moving back and forth, touching the iron to two points at a time, until I finally freed it from the board. The hardest part was removing the solder from the holes in order to put a new switch in. I just was not able to get the solder sucker to suck the solder off. (that sounded weird) Anyway, I tried using some speaker wire to wick away the solder. No luck. I took a can of compressed air aimed it at the holes and as soon as it melted, I blasted it away. Not the ideal method but I suck at solder sucking too. There was still some residual solder making it hard for me to seat the new switches. After the first try, the one switch was a hair too high off the board and made the button stick. I took it back apart and pressed down on the switch and kept moving the iron over all the connections. It finally sat all the way into place. I put it back together. It works great. The button does not register twice per press anymore so Im not shifting from 1st to 3rd instead of 1st to 2nd. It was definitely worth it. Oh and one last thing, when you remove the left and right bumper piece, be sure to see what you are unclipping. I managed to snap the little piece of plastic that hooks it into place. However, it really didnt serve a purpose other than keeping the bumper strip in place while reassembling.
