
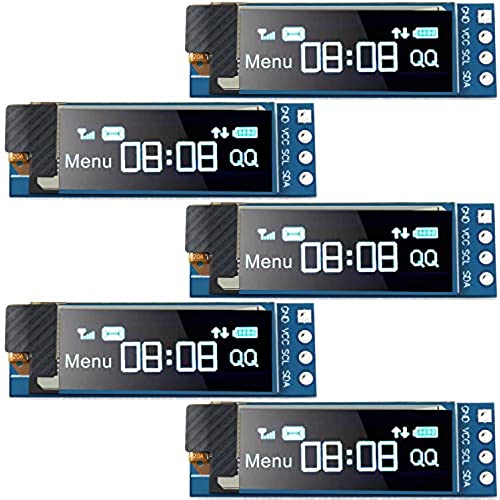


5 Pieces I2C Display Module 0.91 Inch I2C OLED Display Module Blue I2C OLED Screen Driver DC 3.3V~5V(Blue Display Color)
-

Maverick
> 3 dayThis I2C Display Module work with no problems for the Arduino project I was working on. I personally like the Blue color LED it was easier for myself to read in any of the lighted conditions I was using this module in. There is plenty of online help and libraries for this unit just make sure you have the correct numbers for this display module when searching.
-
M Craft
05-06-2025The first two worked. I havent tried the remaining.
-
Richard Quaif
> 3 dayThese are nice displays but easily broken. There is no easy way to mount them and the glass is easily broken.
-
Frank
> 3 dayWant to push your project over the edge? These little boards were easy to setup and are really the cherry on top to a project. I used them to display the ip address of the device. But if you use size 1 font you can fit 3 rows of text, so I added two rows as basically a serial monitor to show statuses.
-
=m=
> 3 dayGreat price per module and all five displays worked properly. However, the modules and 4-pin headers were all placed in a single bubble-wrap bag, then inside a small box. Individual ESD bags for each module would insure the modules did not rub against each other during shipping.
-
William Parish
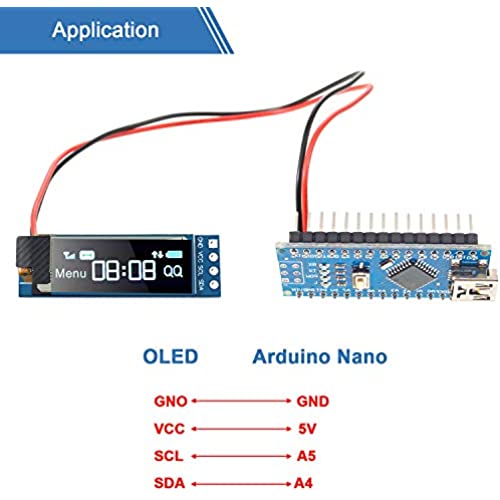
06-06-2025This will work nicely if I stack my pis in a cluster, since the height is about what Id have between pis anyway. Took a bit of fiddling to get the adafruit library to install, and as you can see in the image some extra control characters display from the example, but when I use it Ill make sure the text is more relevant to what I want. I had to turn down the contract on the picture because its a bright little thing, and was washing out the picture otherwise. I didnt mind not having the headers installed. While headers are nice at this breadboard stage, the other three I may solder wires to, and just have them end in plugs I can attach to the i2c bus. I think it makes sense for a bulk seller like this to omit the headers. Finding the address was trivial, but I couldnt find the manual referenced in the description. Turned out a few minutes on google got me the right instructions for a Pi though. Thats the great thing about the pi is the community support. Id be happy to buy them again if I found a need for more than 5 (cluster expansion maybe?).
-
...^.^...
> 3 dayWorked well. The example code in Arduino IDE for the Adafruit SSD1306 Library worked and provided a start.
-
Daniel N.
> 3 dayIs a copy of an Adafruit display and the Adafuit libs for Arduino work with this device. Just note, this is a very very tiny display. For reference the pins are 2.54mm pitch. Cant beat the price for what you get. Just note that I2C is slower than SPI, or high speed parallel so the refresh rate is low, but its still pretty quick.
-
John
Greater than one weekI attach them to a mkr 1010 shield between the headers and use the adafruit oled library. Photo of a well monitor attached. This has, wifi, a real time clock, a watch dog timer, an oled display and a SD card under the side of the display. It is also connected to a Blynk mobile app for monitoring and control. The oleds begin to dim after 6 months or so of use. Best practice is not to have them on all of the time. I plan on adding a small motion sensor that turns the display on or off. .
-
P. Wilson
06-06-2025I think these will work well, but Ive not seen any info telling me what the I2C address is for the module... any information anyone can share ?


