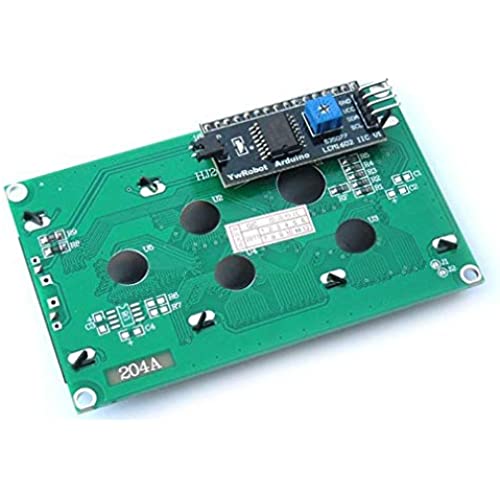


HiLetgo 2004 20X4 LCD Display LCD Screen Serial with IIC I2C Adapter Yellow Green Color LCD for Arduino Raspberry Pi
-

Mr. Hynotic
> 3 dayWorked as expected.
-

John Watson
> 3 dayGreat product and works as designed. One screen came with a loose connection on the contrast potentiometer. At first one of the screens would not display the text and after looking into it I could get the I2C address but it wouldnt display any text. The green back light was fine and after testing the contrast pot I found that it was soldered enough, so I added solder and it works great now. Good price!
-

Joey
> 3 dayDisplay worked as expected. I had trouble initially setting up in code as I have only used 2x20s in the past. I sent an email to HiLetgo and they responded with all the info I needed. I highly recommend.
-

bob
> 3 dayIt works nicely and seems to be good value for the low cost. I had to play around finding the right library file to get it to work-the one on Last Minute Engineers works fine, and they have a nice tutorial to help get it running.
-

BrittanysPal
> 3 dayPlugged it in to my Arduino, and it works with the standard arduino library. No problems whatsoever.
-

CrashBoy
> 3 dayIt works as expected. Pretty easy to read once you adjust the contrast. Rated at 4 stars because it comes with zero documentation. They do seem to be pretty standard so I was able to get it working using an example for Arduino online.
-

FCO JAVIER OTERO DE ALBA
> 3 dayprice very good deliver fast come assembled
-

@B.K_Jewels on Instagram
> 3 dayI received the LCD display like a couple of months ago and its still working and is way better than the led display that comes with the elegoo Arduino kit. also I am a human and also um...I forgot what I was gonna say. OH YEAH to get the library for the display you just look for LiquidCrystal_I2C by Frank de Brabander and you should be good. Again goof luck, this is a good product.
-

Kimberly C.
> 3 dayFollow Up: I just received the 2nd screen that I ordered to replace the broken one. This one is defective as well. This time it is detected on the I2C bus 1/5th of the time if that, and when sending data to it it similarly only works a small percentage of the time. Most of the time is doesnt respond at all - just the white blocks on 2nd and 4th rows. I should mention that I2C sensors and an OLED screen on the same I2C bus (same pins, wires) work 100% of the time. Will not be buying screens from HiLetGo anymore. Go with another brand for a few dollars more. Did not work. I scanned all I2C addresses and it did not show up at all - tried different wires, different spots on breadboard, etc to no avail. I also tried sending data to the two addresses suggested by others - but nothing happened. All it would do when connected to power is show the backlight and two rows (row 2 and 4) of white blocks. Contract adjustment did not help.
-

DC
> 3 dayI ordered two, weeks apart, and got two different products. The first one was great, clear, bright, high speed display updates, and good contrast and viewing angle. The second one looked very similar but the display was a little taller, and unfortunately has a spot in the backlight, the display is dim, updates slowly, and the viewing angle is not good. I want another one like the first one. Update: I have purchased three of these now and two are slow and dull with lousy viewing angle and contrast. I want another one of the good ones!!
