


eMylo Smart WiFi Light Switch Wireless Relay Switch Module Remote Control Home Automation Timers Compatible with Alexa Echo Google Home iPhone Android App 2 Packs
-

Sunder Nadarajah
> 3 dayI have installed these units in my vacation home window AC units. I am able to control these devices from 10,000 miles away. Highly recommended
-
0x50
> 3 dayEasily set up and reliable. Works perfectly as advertised.
-
Mel King
> 3 dayHad to try several times to get it to hook up to my Wi-Fi but finally got it working. So far, seems to be stable and works with the App and Alexa.
-
Chris Curran
> 3 dayWorks flawlessly! Installed in the metal breaker box to turn my pool light on/off with Alexa. No issues connecting to WiFi and uses the Smart Life app I use for numerous other devices around the house. Recommended!
-
Arvind O.
> 3 dayNice product. Instructions are clear and the item itself can be integrated easily. The working principle is also described very well.
-
Jeff Toms
Greater than one weekIm not good at downloading apps and getting them to work, but, I did it and it was relatively easy. Works great with Alexa as well.
-
EK
> 3 dayGreat solution to the more pricey smart switches out there.
-
khaled
> 3 dayIs it possible to open the garage gate ?
-
Mountain Top
> 3 dayBecause I planned to use my unit in multiple locations I decided to mount it in a project box to avoid over stressing the pigtail leads. Now I can just plug it into any appliance or light and switch it from one light to another. The box prevents my grand kids from fooling with wires also. I downloaded the software and it installed without a hitch and it works perfectly every time.
-
CyberMedics
> 3 dayThis switch worked for adding on/off capability to our Ring floodlight camera. It saved me the effort of manually installing a switch. By following these steps you can configure all the switches comfortably at your table. You won’t wire it, and then find you have a problem. These are the steps I followed, which really simplified setup. Before doing the steps below, scan the barcode on the instructions, download Smart Life app, install & setup an account. Ensure your phone is on your 2.4 GHz network. You can add your Wi-Fi now or during the switch setup. I suggest doing it now. Prep before running application a) Use a power strip, but DON’T plug in yet. b) Plug in an old cut off extension cord (EC) (preferable one with 3 wires, so you can identify ground & power) c) Connect the Black (Power of EC) to INPUT Red side of switch labeled “L” Load d) Connect the White (Neutral of EC) to INPUT Black side of switch labeled “N” Neutral e) Find a cutoff female plug (FP) f) Connect the Black (Power of FP) to OUTPUT Red side of switch labeled “L” Load g) Connect the White (Neutral of FP) to INPUT Black side of switch labeled “N” Neutral h) Ensure there are no exposed wires. Plug in & turn on power strip. The purple light should be blinking fast. If not, press the black button on the switch until it does. Adding your device a) Launch Smart Life app. Go to Home & select + in the upper corner to add a device. b) Turn on your phone’s Bluetooth c) Click auto scan, then start scanning. It should find & configure your switch in less than 2 minutes. d) If auto scan doesn’t work, then add manually by selecting “Switch (WiFI))” under SWITCH heading e) Use the app & turn on/off the switch. I used portable voltage tester to verify. Pros - Simple to configure if you follow the steps above - Eliminates the need for a manual switch or adds Wi-Fi to an existing switch Cons - I don’t think the instructions are sufficient for an average person without prior electrical knowledge Summary Well worth the money. Highly recommend. Please let me know if this helps


|
|
|
|
|
|---|---|---|---|
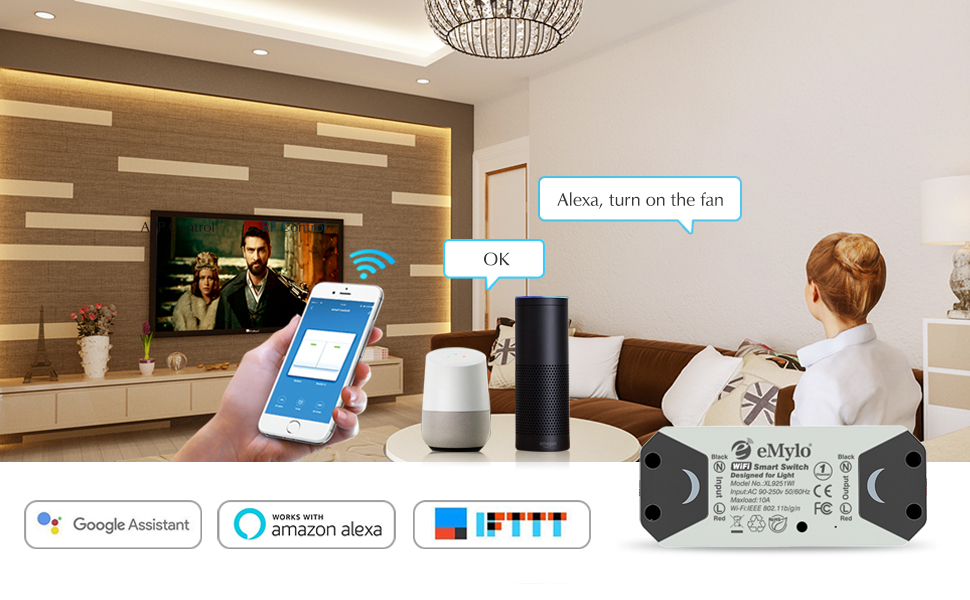
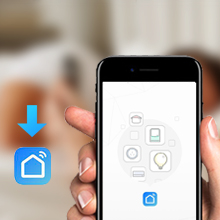
"Smart Life" ApplicationeMylo Smart Wifi Switch can be controlled through your existing Wi-Fi network via the “Smart Life” App. Download the app to your smartphone or tablet and have access to turn your home devices on/off, set schedules, and monitor energy usage. The switch can remote control home appliance on/off from anywhere at any time with IOS Andriod. |
Voice control your homeSimply say, "Alexa, turn all lights off" at the end of the night, or "Alexa, turn the floor fan on". You can also add Google Home to turn on, off, dim or brighten; "Ok Google, turn [Everything] On." |
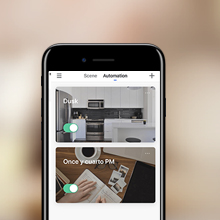
Smart Scenes ModeSchedule the Smart Wifi Switch to automatically switch on and off when away or back.It’s simple and easy,giving you 1 less thing to worry about in your busy life. |
1 button share1 key sharing, with this function, 1 device can be shared to family members,the elderly and Children to Control your smart home. |


|
|
|
|
|
|---|---|---|---|
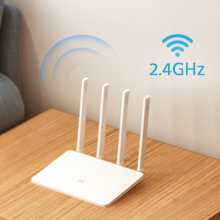
Support 2.4G WiFi/ 4G WIFI Router AvailableAffordable 2.4G WiFi smart light switch that provides users with smart home Control. eMylo smart wifi switch only support 2.4G WIFI router and 2/3/4G mobile network, 5G router is not available. |
Widely applicationeMylo smart switch is widely applicable to almost all kinds of household appliances and lamps. The “Smart Life” enables you to remotely turn the connected home appliance on/off from anywhere at any time. |
Minimalist WiringThis is a newest installation way, minimalist easy wiring, you only need 5 seconds to press connecter and insert cable. Do not need open the covers anymore. |
About eMyloeMylo is a professional RF and Smart WIFI Switch manufacturer, who has own factory, brand and engineers. Our products widely used in different fields: Lighting, motor, garage door, water pump, curtains, etc. |


|

|

|

|
|
|---|---|---|---|---|
| WIFI SWITCH | WIFI SWITCH | WIFI SWITCH | WIFI+RF SWITCH | |
| Channel | 1 Channel | 1 Channel | 1 Channel | 1 Channel |
| Voltage | AC 90-250V | AC 90-250V | AC 90-250V | 5V-24V |
| RF Control | X | X | X | ✓ |
| WIFI | ✓ | ✓ | ✓ | ✓ |