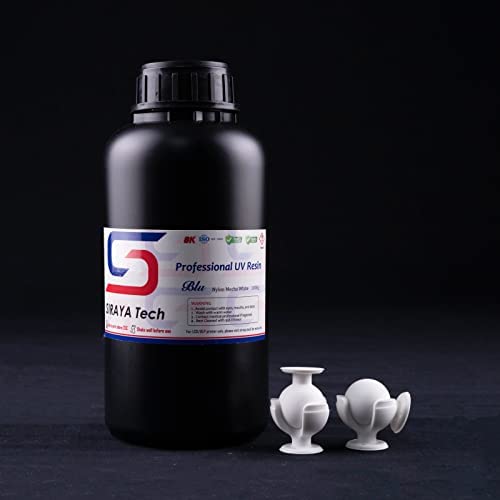
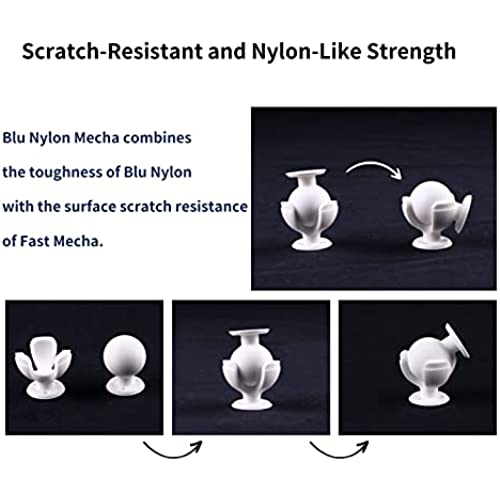
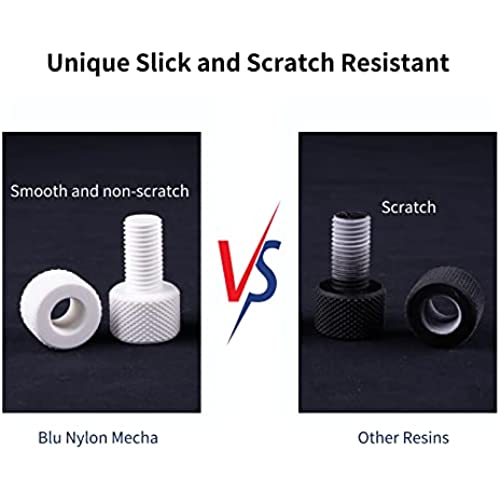

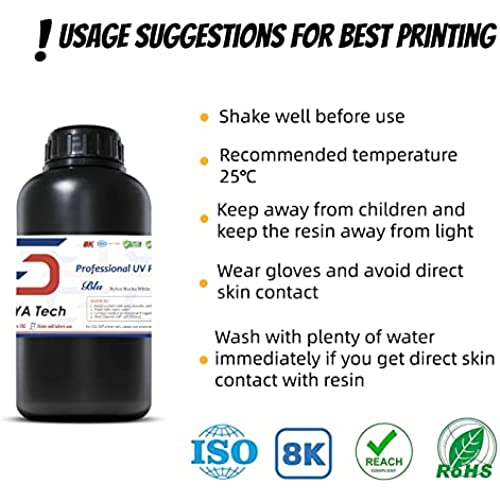


Siraya Tech Blu Nylon Mecha - Tough 3D Print Resin, Scratch-Resistant, Nylon-Like Strength & Precision, High-Resolution 405nm UV Curing LCD DLP 3D Printer Compatible, 8K Capable (1kg, Nylon Mecha)
-

TheCyndicate
> 24 hourThis resin does result in much tougher prints, but they are far from accurate. I used their exact setup recommendation from their website and it still resulted in badly inaccurate prints. Printed on Elegoo MARS.
-

Eric H
> 24 hourIt does yellow a bit while curing but it is really strong. You could bang the output against your desk (my wife did) and not break. I did drop from 5’ onto my garage floor a long but skinny item and it broke cleanly but I honestly would expect anything similar shape out of most materials would of
-

Phönix
> 24 hourMy goal is to make engineered and functional parts that are high-strength and precision fitting. Parts that have to be assembled. I use a Photon printer, and have been gaugeing resins to see which ones print true to size. Blu prints +- 0.1mm or better without any manual adjustment - the best that I have tested of any resin. This is higher viscosity than most LCD resins, so it is best to heat the printer to 30 degrees C., and that is as easy as using a temp controller and then plug in a space heater (must be under 1000 watts) or 1 or 2 250-watt IR heat-lamps. I would do this for any resin, not just Blu - though for typical resins, I would only heat to 25 degrees C. Controlling temp is something that professional printers do, so if you want professional / consistent results, you should control the temperature of you printer. It is like being in an old photo darkroom - the chemicals needed to be a certain temp for repeatable results. Exposure should be 12 seconds at 50 micron layers if temp is 25-30C if your printer is a Photon. If you have a Phrozen, Zortrax, or one with more than 30 watts of UV, then perhaps 10-seconds is best. The resin sticks very well to the Photon build platform, so I only did four base layers of 20-30 seconds. It sticks so well that it is hard to remove if you dont use a raft with a beveled bottom edge. But, most software has that option. The smell is mild, and like citrus. I like that it is translucent because it means that I can inspect for internal damage on a highly-stressed part, and I can also cure it all the way through for stronger parts. I believe that comparable resins are $150 and up for the Form-2 printer, and am very happy that this is priced in the range of ordinary resin.
-

Jason Denny
> 24 hourI like the color and the rigidity of this resin, but it just never seems to cure. I left a piece in light box for 30 mins and its still came out tacky. Its probally something im doing wrong in the cleaning process though. I cant be sure.
-

Jeff
> 24 hourIve gotten really good results out of other Siraya Tech resins, including the blue color of Blu, but the Blu Clear V2 does not measure up quality-wise. It seems to allow UV contamination just from printing, to a degree Ive never seen with any other resin - after printing a R_E_R_F test on my Photon Mono X, a large portion of the resin remaining in the vat was partially exposed and had congealed into a gelatinous mass reminiscent of a jellyfish. I ran the test twice with slightly different exposure timings, filtering the resin between the two test, and the same issue occurred with both. I hate to think of what would have happened if Id been running a print that took several hours, instead of just a quick test model that took roughly half an hour. Although the lowest-exposure piece did expose surprisingly well at 0.5 second -- none of it was left on the FEP, as usually happens with the lowest exposure piece -- even it was a bit too thick in the X/Y directions, but much too thick along the Z axis (the model I was using is 1.7mm thick, but the 0.5 second exposure measures 3.34 mm thick). This makes it useless for any models that need dimensional accuracy (and explains why my printer was making grinding noises whenever it lowered the build platform back down for the next layer). But despite being that thick, it had no structural stability - it was extremely bendy. And once cleaned and cured, the layers began separating. Even though the room was heated to above 25C, the resin was still extremely viscous, and it took forever to drain out of the vat; while many resins are thin enough you can simply hold the vat over your filter to get it back into the bottle, this isnt one of them. Its also got a pretty nasty smell, and while I wear a cartridge respirator when working with resin, my eyes were burning pretty fiercely after using this resin. Im not sure why Blu Clear V2 is so much worse than Blu Blue, but it was very disappointing.
-

Gary B
> 24 hourthank you
-

Samurai Dave
> 24 hourThis is my go-to resin. High accuracy. It handles the most challenging parts with ease. Its reputation for being a GREAT resin is well deserved. It is a thick resin, and needs to be kept at a minimum of 77F (25C). I have a small heater next to the printer to keep things toasty, between 80F-90F. If the temps get too low, the resin will thicken and wont flow properly. When the Build Plate lowers, it squishes-out all but the layer you specified in the Slicer software. If the resin is too thick, the forces transfer to the part, moves laterally, which translates to layer lines.
-

joe
> 24 houraffordable good quality UV resin with good strength. need to be heated before use though.
-

Calvin
> 24 hourThis V1 stuff is REEEEAAALLLY THICK. Its thicker than liquid elemers glue. Get V2 instead.
-

HLH
> 24 hourGorgeous color. Add a little white if you dont like clear. I Will but this and white again. Strong. Feels like it could be tapped too.
