
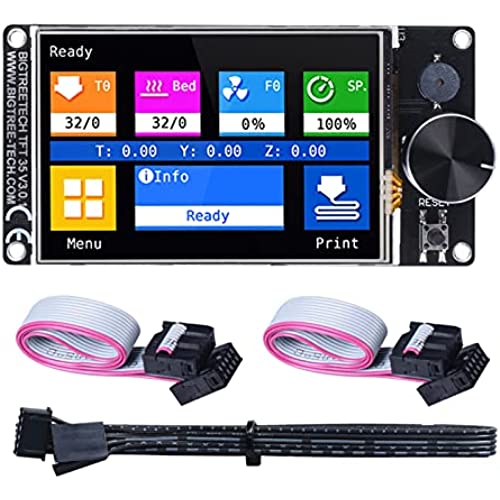
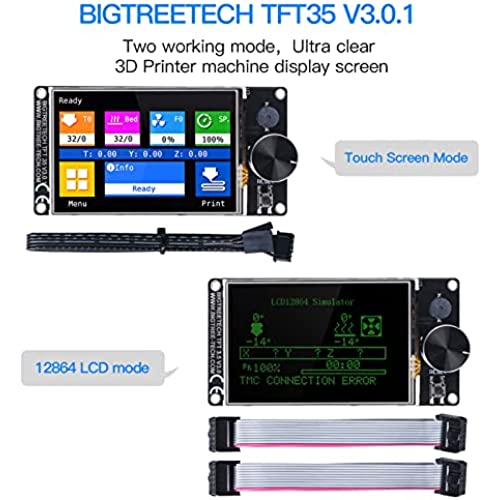

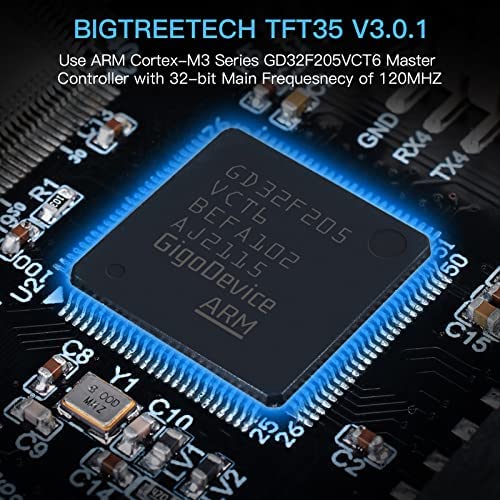

BIGTREETECH Direct TFT35 V3.0.1 Touch Screen with Two Working Modes Smart Controller Panel Compatible with Graphic LCD 12864 & Touch Menu WiFi for SKR V1.4 Turbo Manta M4P/M5P Ender-3 3D Printer
-

Eric Czichos
> 3 dayPart of an upgrade I did to my 3D Printer, Excellent change from the stock screen and dimmable. It lets me run the printer for days long prints without having to worry about the screen lighting the room up at night. Love the ability to switch between touch screen and 12864 modes. Onboard SD and USB drive ports to print from.
-
Maccnh
> 3 daywork very well plug and play
-
Roshan
> 3 dayburned out after a few months :(
-
Velva Powlowski III
> 3 dayvery good
-
Mick
> 3 dayGreat Replacement, much handier than the original. Plenty of videos and tutorials available on YouTube to walk through the process of replacing.
-
Crystal L
> 3 dayI bought this BTT TFT35 E3 V3.0 screen to retrofit my CR-10S 3D printer, which uses the same12864 LCD screen of the Ender 3 (E3 in the model name). The product itself is really good, easy to install, and even easier to flash the firmware. I spent about half a day to tweak it and make sure it would work with my CR-10S stock board allowing me to control it from the LCD menus. After getting everything ready to go, it was time to put it in the control box. Everything felt in place, screws were aligned. The only thing I had to do was to flip the board connectors to match the ribbon cables orientation. All the excitement was gone when I turned it around just to see that the screen was crooked and misplaced. After some digging, I found out that this is a recurring issue with this screen. At first, I thought it could be the control box LCD cut out (very unlikely). Then I designed a new cover test based on the specs and dimensions from the BTT website. Same problem. This is way too disappointing... I would give this a 5 star but, since overall appearance is also important to me since I am paying for it, I decided to give it 3 stars only.
-
DavidsG33k
> 3 dayi love these. this one is now on a friends printer. he was not sure, but when he saw it was like ok. i need this.. these do require you to custom compile marlin 2 to use touch screen options as they talk serial to main board. aka rx/tx after you have that option turned on itll talk to your board perfectly disregard the bad comments. got three fully functional installs and love all three.
-
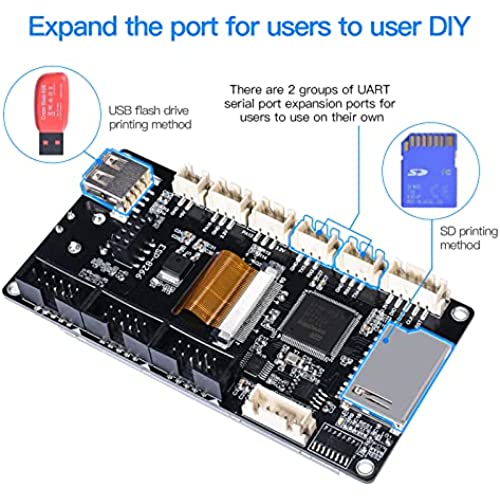
Jeff
> 3 dayThe best part of the monitor, is the ability to use a USB thumb drive for your prints. Well, that and the touch screen. I’m not a fan of the knob turn and push to select. Countless times, I’ve rotated that knob and pressed and it started printing an adjacent code file because it switched as I pressed and I didn’t notice it happening. Not a problem with the touch screen.
-
Martin Gundel
> 3 dayPerfect upgrade to Ender 3 Pro and addition to my SKR E3 Mini board...
-
Christopher
02-06-2025The display is beautiful, a necessary upgrade IMO. Install, Setup and firmware wasn’t too difficult to set up and it has a lot of really nice features.