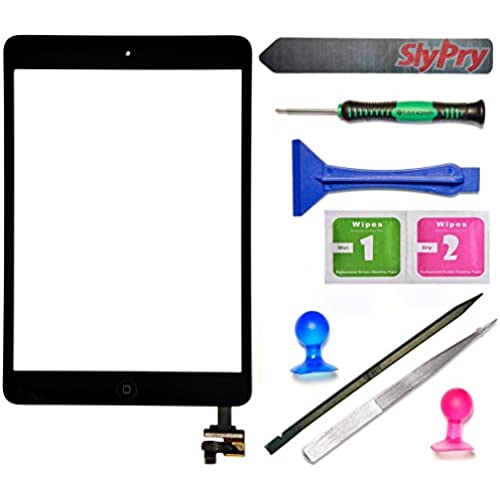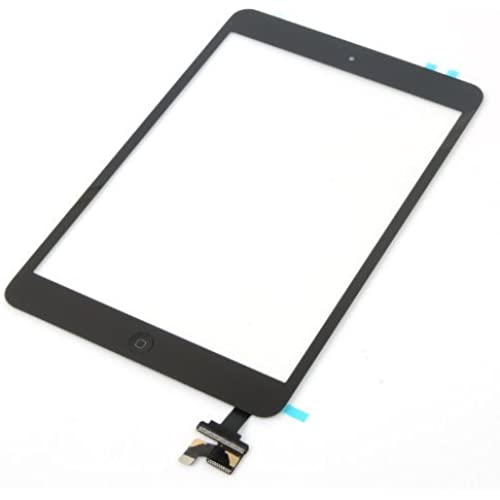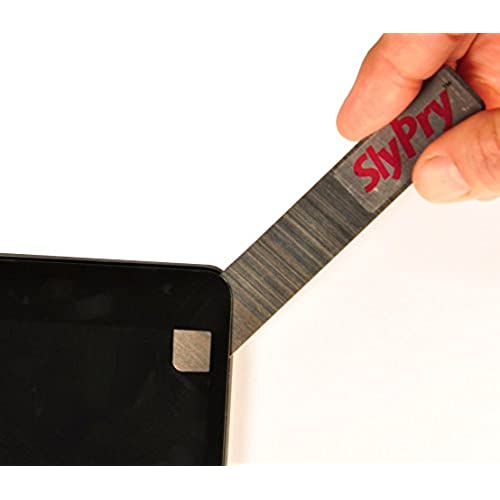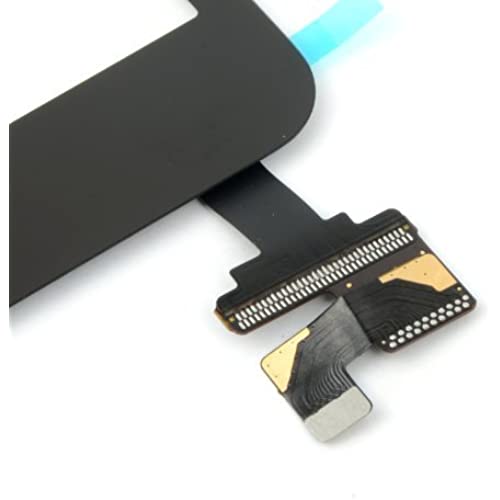


Prokit for Black iPad Mini Touch Screen Digitizer Complete Assembly with IC Chip & Home Button Replacement with SlyPry Opening Tool kit
-

KendraReview
> 3 dayAwesome kit! Very easy and inexpensive fix for my iPad. Saved me tons of money!
-

Chasethaworld
> 3 dayAdhesive never stick on screen popped out and cracked , never dropped it or anything , actually was putting protective case on when it happened
-

Shady
Greater than one weekWorked well. The process to replace is medium to hard, took me a little over an hour and Im an engineer! So many super tiny screwes, some one said use a white bowl, excellent tip. There are several videos online on how to do it. Make sure you test it before you screwes any thing back. My iPad didnt work initially but was beeping once I plug in the charger. I rebooted it by holding the power and home buttons together for 10 seconds and it worked right after. The screen is very responsive and clean with no scratches. The home button is a little stiff but not a big deal. Hope it lasts. The tools that came with it are really good and will have future user for me, added value.
-

Jennifer Hernandez
> 3 dayCame as described! And all the tools where used in the process of fixing my ipad!
-

Dr. Gadget
> 3 dayThis screen DOES come with the chip, the Home button installed and the adhesive already attached. It is advised to ensure you buy a screen with these items already on the screen, as some of them arent and it isnt the easiest thing to transfer - it needs to be lined up just so. I have installed a lot of these screens and the most important thing to know is to TAKE YOUR TIME! Watch videos, watch videos, and watch another video. The removal is a slow and tedious process, use the heat from a heat gun or a hair dryer to get the screen to where it is just too hot to touch for more than a second or two. Be very gentle prying the cracked screen up as you can break the LCD easily. Once the screen is completely removed, gently pry up the LCD as there is a little adhesive holding it down. The most important part of the repair is to make sure you DISCONNECT the battery before you disconnect LCD and digitizer. If you do not, you can pop a fuse on the motherboard / logic board. If this is your first attempt, just make sure you have a full belly, a good workspace and great lighting... you will be there a while; but, it will be worth it when youre done.
-

Kevin j.
> 3 dayfirst touch screen didnt work, but they sent another one out and it works fine. overall happy with product, tip make sure to clean the gluing surface very well so it sticks.
-

dusty
> 3 dayCorners didn’t fit properly. Cracked during install.
-

Meghan
> 3 daySuper easy to do, just be patient and delicate. Huge money saver!
-

Glenn (Chicago)
> 3 dayI watched a YouTube video for the screen removal on my exact model so that really helped. As for the product it works, packaging was excellent not issues at all. Overall install took about 30-45min.
-

David L. Loflin
> 3 dayAs advertized

