
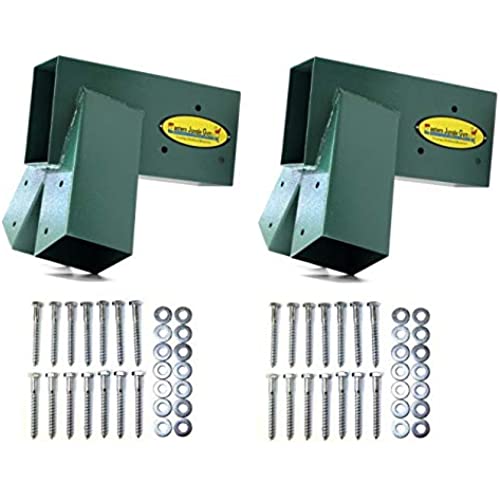
Eastern Jungle Gym Easy 1-2-3 A-Frame 2 Brackets for Swing Set with All Mounting Hardware, Green
-

Elizabeth H.
> 3 dayWe wanted a swing set for our daughter but did not want to pay the ridiculous price for a full ready to assemble kit. This kit was very easy to assemble. The biggest issue is there were no instructions on my box, but it was pretty easy to figure out. It fit 4x4s for the legs and a 4x6 for three beam very well. It is sturdy enough to support the combined weight of two adults and a toddler (in our case close to 600lbs) with no signs of stress at all. I purchased this set over others because the build looked solid (and it is) and they price was right. I am very pleased with this purchase.
-
Timmy
> 3 dayThe legs are not a big problem. The 4X6 has to be ripped 6’ to attach the middle brace. Oh well.
-
Wowed7
> 3 dayGreat product to create a A frame for swing set. So easy to install. SOLID and came with everything needed (Except the wood). Have already bought 2 of these sets and would use again. I would recommend this product. No issues
-
Daniel J MacArthur
> 3 dayWhen you install your 4x4x8 legs, the inside edges of the 4x4s that touch at the top (as extended inside the bracket) form an isosceles triangle with long side 95 7/8 and short side 74 7/16 (so in that triangle plane, the legs have an angle of approx. 22.8 degrees from the middle of the triangle) The other angle (which extends over the long length of the assembled swing) is approx. 14.5 degrees from vertical. The net result of this is that you make 4 marks on each of the lines that form the corners of your 4x4. The outer corner you leave (the existing corner is the mark). The inner corner, make a mark 2.5 from the bottom. The corner that is inside-long-way/outside-short-way, make a mark 1 from the bottom. The corner that is outside-long-way/inside-short-way, make a mark 1.5 from the bottom. Now join up these 4 points with lines. These lines form a plane, and you can cut the plane with a sawzall with a long blade. The legs will now sit flat on the ground.
-
Jessica and Brian
02-06-2025They hardest part was flipping the swing upright when assembled the brackets where great though.
-
JB
02-06-2025So while I just put this together today (2/15/19) I wanted to give an initial review on putting it together mostly because I used a 16ft 4x6 cross beam, which I hadnt seen any pictures for so I wanted to share so folks could have more examples. I used 4 10ft 4x4s for the legs and that 16ft beam. I plan on getting some 2x4s to eventually connet to the bottom of the 4x4 and cement those into the ground or buy some of the anchor kits online. As of now this thing and the weight isnt going anywhere :). The brackets (similar to others) worked well, but I had to sand down the 4x6 and then use a rubber mallet to get it in place. Not a huge deal. The 4x4s all went in with no help needed. I drilled pilot holes for the hardware that it came with and with a simply ryobi impact drill they all went in easily. The big challenge I knew would come from standing it up as I hadnt seen any reviews with the 16ft beam. Looking at a wood beam weight calculator this was right around 300lbs. I luckily had one buddy swinging by so 2 guys were able to stand this beast up. I only added one toddler swing for now that I transitioned from my parents house and I have two of the jungle gym standard swings coming. I plan on adding a 4th saucer type swing and might see if 5 things fit. As of now this gets 5 stars for ease of use. Im not crazy handy and this was as easy as it gets. The big thing will be to tell how well the 16ft beam supports a full load, but we only have 1 kid, with another on the way. We have friends over a lot that have multiple children which is why I made it big. I see no lag, but again it was just installed. I was going to do a 12 and as of right now am glad I got a 16ft top beam.
-
Chris B.
> 3 daySo the problem with these is if you buy a 4x6 that is pressure treated, you could be hard pressed to get it to fit. The way I got it to work for me is I used a hand planer to shave down the sides and still had to put the bracket on the ground while I used gravity to pound in the lumber (the logo is fixed to both sides of each bracket using metal studs that stick into the bracket itself making it even harder to get these on). Once those were on, the pressure treated 4x4s went in without issue (thank God!). I used an 8 swing beam because my options were that or the 12, and I didnt want to rent a uhaul for a piece of lumber, so I went with the 8. The swing brackets go right up to the frame bracket and the beam is in 3/4 of the way which is still being supported by the 4x4. The swing brackets are centered 12 apart between each swing and 18 apart for each individual swing, starting 10 from the end (I had 2 extra inches to play with). From my research, that was as close as they could be together safely, and these brackets eat up 12 on either end (about 9 in my case because the swing bracket was in the way). Overall, still a very sturdy swing, can hold my husband and I on it no problem. We have it anchored. Painted it with paint made for humidity and severe weather (we live in Georgia). If I could do it over, I would have sucked it up and found a way to go with the 12, though the spacing works just fine. Have a hand planer handy (got one for $14 at Lowes). Rating it with 4 stars because of difficulty with 4x6 and how the logo was fixed to it (definitely didnt help). For frame of reference, I am a 32 year old mom who is pretty handy, and the only part I needed help with was raising it up once I got all 4 legs on. Without these brackets, it would have taken a bit more brain power. Total cost for swing: 3 days and $280. (Beats paying $1500 for someone else to build the same thing)
-
Tony O.
Greater than one weekMade building a swing for our daughter fast and strong
-
Christopher Webster
> 3 dayIf you follow the instruction and purchase the correct lumber you’ll have a very sturdy swing-set frame in 20 minutes.
-
JimTheToolMan
> 3 dayEast to use. However they are not adjustable and with lumber being inconsistent in dimensions there may be challenges installing them on a 4x6. First one was a challenge to install as I didn’t test fit and adjust the beam size. Head to BEAT it on. lesson learned and on the second end I planned the 4x6 timber to enable easier install. Sharing in hopes others don’t make the the same oversight.