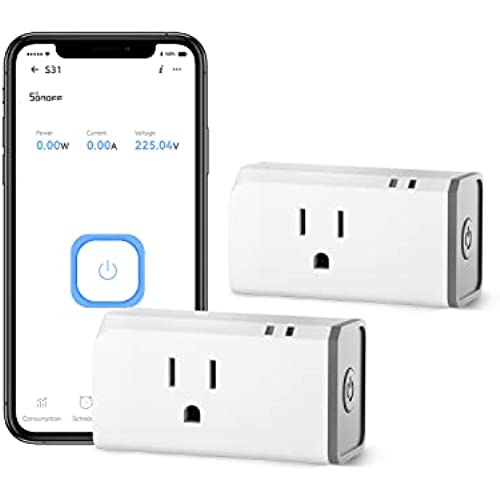

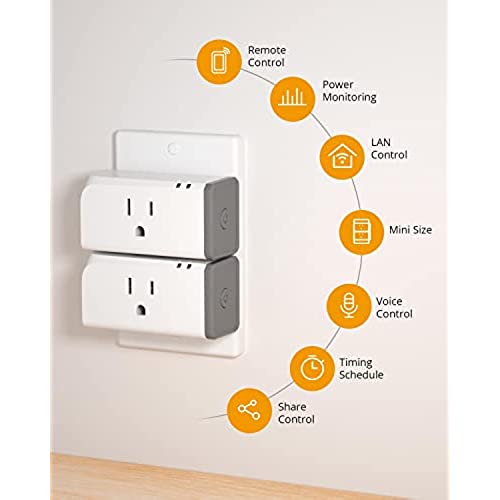
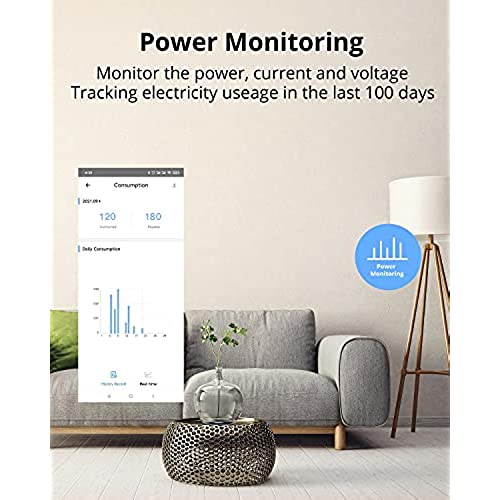
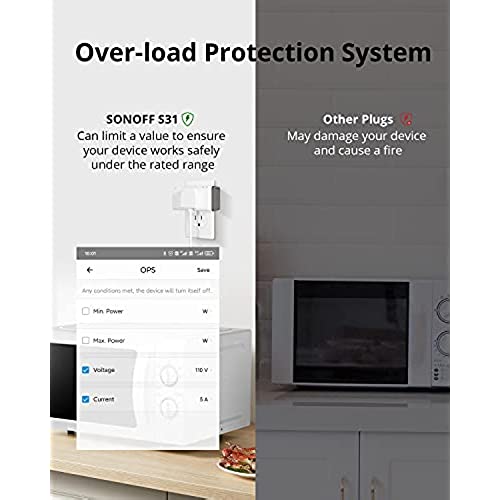



SONOFF S31 WiFi Smart Plug with Energy Monitoring, 15A Smart Outlet Socket ETL Certified, Work with Alexa & Google Home Assistant, IFTTT Supporting, 2.4 Ghz WiFi Only (2-Pack)
-

Bryan Loesch
> 24 hourI got this because I was looking for a smart plug that would alert me to the current dropping below a certain level, which this claimed it could. However this requires integration with IFTTT, which has an additional in app cost. Even after purchasing that, it would not integrate and I could not set up my alerts. Fortinatly I was able to get my money back from google, and return this plug. as far as a basic smart plug with Alexa goes it worked just fine before I returned the item.
-

Shawn Farmer
> 24 hourEasy to setup and easy to use.
-

Lars
> 24 hourUsing them with Alexa, very reliable, never had a failure/need of reset. Easy setup and Alexa integration with the ewlink app. In the ewlink app you can turn on some features that Alexa do not have but still works with Alexa, additional bonus. E.g automatically turn off the device after xxx time has lapsed since power on, power on state, timers and loop timers. Very useful for my setup, controlling a water pump for my house remotely.
-

Stark
> 24 hour2 out of 4, S31 WiFi Smart plugs failed to stay on after 3,weeks. Trying to contact seller for replacements.
-

nimazon
> 24 hourI love these switches because they are cheap but durable and (assuming you are not afraid of soldering) it isnt so difficult to replace the Sonoff software with something open source like Tasmota. They are my goto power-measuring device on my home automation system (Home Assistant) for household appliances. But here is my warning if you do intend to reprogram them: to open up the case, you need to extract three screws and these are always in so tight that it is extremely easy to strip them, or damage the case, or both.
-

MD90
> 24 hourI have been assembling my own WiFi switches with Sonoff Basics and my own extension cords for a few years now. They have been extremely reliable with only one failure in over 35 units. I was happy to see these compact plugs with a 15 amp rating finally available. They integrate seamlessly with the rest of my switches and are fully accessible in the Alexa, Google Home and eWeLink apps. Options for Inching and energy monitoring are nice when needed. Build quality is excellent with a nicely finished case and solid feel. The indicator light is not obnoxiously bright.
-

M. Gortner
> 24 hourMy wifi auto switches your devices between 2.4GHz and 5GHz, so I cant use this switch unless I dedicate a an old phone. I put my phone on the 2.4GHz band to install it and it worked. However, I cant leave my phone on that band. When I switched back, I couldnt connect to the device. I have other smart devices that require 2.4GHz signal in the house but not on your phone. Bad software design.
-

Keith Willowhawk
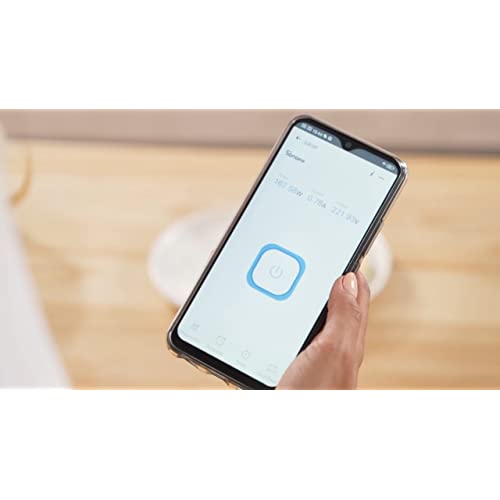
> 24 hourI bought this as an inexpensive way to meter how much amperage my computer desk pulled at peak load, as well as other things like AC units, coffee machines, etc. it faithfully shows amps and watts of the load. The problem is it’s a “smart” switch which you can toggle on or off, or set automated “scenes”. In addition it has “inching” auto triggers. Even with nothing defined for the automated toggles the logs still show “device triggered” or “scene triggered” at seeming random intervals, which is really inconvenient if you’re using it at the time. Latest firmware did not fix this behavior. I’d recommend only using for short duration active metering and then removing from your path.
-

Jose Saucedo
> 24 hourBn Link used to sell these with a power meter but I contacted them and they don’t offer the meter option anymore because of a chip shortage. These are a couple bucks more but the power meter is the feature I really like.
-

David
> 24 hourI bought a 4 pack of the S40 plugs and had 2 dead out-of-the-box. The other 2 paired up, and worked for just over 24 hours. I woke up to find these 2 flashing my lamps on and off. The app showed them both off-line. Button pressing on the plugs had no effect. When I unplugged them, the button lights would not light up when plugged back into the wall socket. I tried contacting the manufacturer, received a fairly quick response, and was advised to return them to Amazon. I did, and requested a replacement. I received the replacement, and had 1 die within 6 hours. The other 3 lasted almost 48 hours. This morning I found my lamps flashing on and off again. I am sending these back and can not recommend these.


