
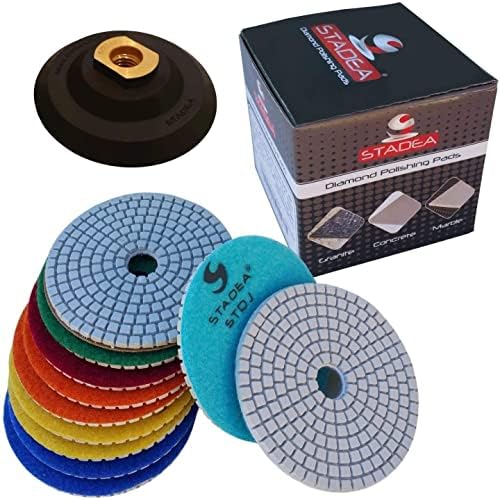


Diamond Polishing Pads 4 inch Wet/Dry Set of 11+1 Backer Pad Best Value Granite Concrete
-

Cindy Brown
> 3 dayThese are great! I like everything about them. I will be ordering more at this exceptional price. I have used a broad range of brands and prices, I have done alot of comparisons side by side, Stadea takes the gold! I use these on chalcedony, agates, quartz, petrified woods and more. Mohs scale from 2 up to 8! I really do not have a single complaint!
-
Dr. Jarod Corwin
> 3 dayThese worked great. You have to have a variable speed polisher, not grinder. The people who said they come appart are using an angle grinder, not polisher. I bought one at harbor freight for $30. Very happy with the results.
-
Keith D Kun Jr
> 3 dayHad some pitted marble... a little polisher from HF, some sweat and smooth as glass again...
-
Deja
12-06-2025These worked great for the edges of our granite tile countertops. Bought a $40 angle grinder at Harbor Freight to use with them and they did the job for relatively cheap!
-
John
> 3 dayIt is okay will works if broken chip some come off. More or less manufacturers should inspect if broken should be replaced.
-
Jorge
> 3 dayWhat can I say. They do the job right.
-
audioguru98
> 3 dayI just polished the front edge of my granite vanity counter top with this set. They worked great. Its the first time I tried doing this, so there was a bit of a learning curve. But once I got going, I was able to figure out how to get a decent shine. I did a little bit of both dry and wet polishing. It took a few hours from 50 grit to 8000. Would have given it 5 stars, but the last grit just couldnt quite give me that perfect gloss. And the backer pad hook and loop velcro would come loose every time I changed pads. Other than that, it was the best product for the cost.
-
saly
> 3 dayUPDATE - after two years: I purchased an orbital sander and gave it another try in parts of the shower walls, although these are one inch smaller and wet polishing almost destroys the sander, the results were good. I wish they were 5 inches. I really couldnt make my shower any better, for me was waste of the money and time and energy. I bought and used both wet and dry ones with no acceptable results I spend a lot time watching videos and reading and tried my best, I assume if I couldnt get results with this much effort, no body(unless professional pulisher) cant do it either.
-
Main steam stop valve
> 3 dayExcellent. Using to grind our concrete counter tops. Perfect results and quite durable
-
Artie
10-06-2025When I purchased these pads a month ago they only cost $11.99 plus shipping for a total of $16. and some change. Now there $38 plus shipping? Why the big cost jump? Well I found another set for 17.99 plus shipping on amazon so thats where Ill be buying my pads from now. Sorry tool trend but your cost hike lost you a retuning customer or should I say a not returning customer


Stadea Series Standard J - Wet Dry** Diamond Polishing Pads - 4 Inch - Concrete Stone Polishing - DPPW04STDJ5R6K12
|
|
|
|
|
|---|---|---|---|
Value For MoneyThis polishing pads set offered at outstanding price, is a huge value
for countertop surfaces (Concrete), countertop edges (Quartz, Granite, Marble, Stones) and Floor (Concrete, Terrazzo, Travertine) polishing. |
Concrete PolishingIt is designed for polishing
|
Stone Edge PolishingIt polishes stone edges to high gloss shine, a favorite pad for DIY
|
What is in the BoxThe 4" Set DPPW04STDJ5A6K12 has following:
|


Versatality & Coverage
Concrete Countertop Polishing - Concrete Floor - High Gloss Finish -
- Designed to polish Concrete countertop surface and counter edge polishing and concrete floor surface wet polishing for high gloss finish
- Flexible pads, Easy to work on all kind of edges demi, full bullnose, bevel, Ogee edge profile wet polishing
- Stadea Series Standard J, Wet Dry** Polishing Pads is perfect tools for DIY Quartz Edges, Granite Edge, Marble Edge Polishing. It leaves high gloss finish on stones edges.
- For Stone & Quartz Surface polishing, it is recommended to use Stadea Series Super G Wet Pads or Stadea Series Ultra D Wet pads for the best result.
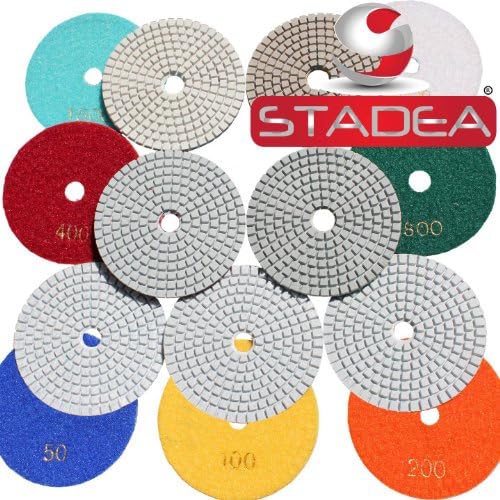
- Color-coded pads for easy identification of pads grit
- High-quality velcro for strong bond and quick change of polishing pads
- Polishing pads are available as set of 5, 7, 8 pads
- Also available as individual grits as pack of 1, 2, 5 and 10 pads
- Great Value for the Price, a performance polishing for high gloss finish
- Durable 3 MM thick Pads with high diamond concentration
- High coverage - Actual coverage varies based on roughness, hardness and other factors of polishing surfaces

Technical Specifications
Available Sizes -
- 4”, 5”
- 4", 5" polishing pads are 3 MM thick
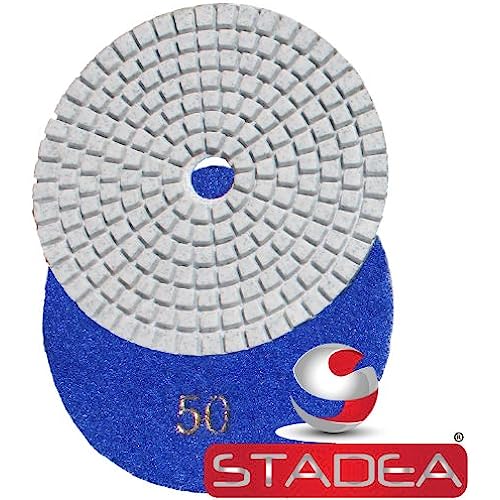
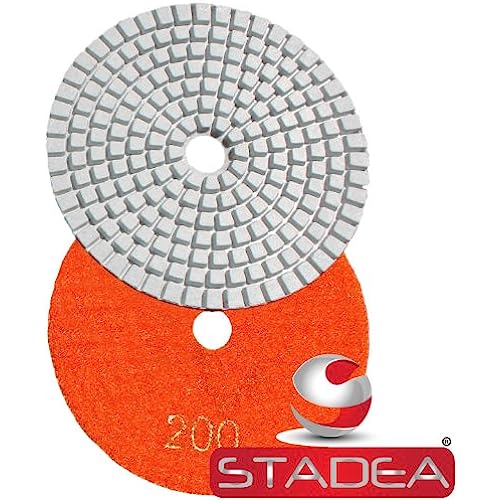
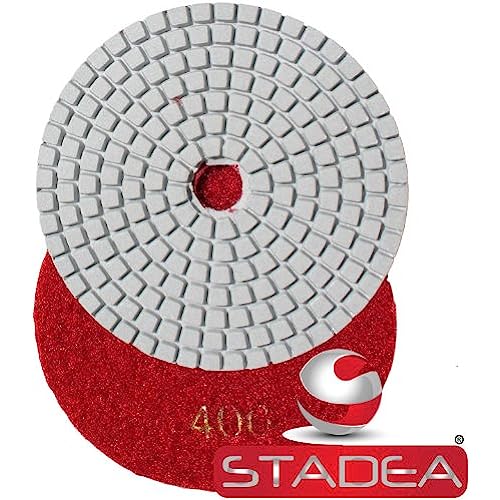
- 30, 50, 100, 150, 200, 400, 500, 800, 1500, 3000, 6000
- Flexible pads designed for perfect polish on a flat surface (Countertop Surface, Floor Surface) or curved surface (Countertop Edge). It works very well on all kind of profiles - Demi, Full Bullnose, Bevel, Ogee and profiles with similar curves.
- Approx 60 - 120 square feet coverage per set, actual coverage may vary depending on the roughness of concrete/stone.
- Stadea SWP101K Stone Wet Polisher, Stadea Rubber Backing Pads are recommended. It can also be used with other polishers.
- The lower grit pads 30, 50, 100, 200 works very well for dry usage. Lower grit dry grinding makes saw marks removal on stone surface easy.
- The higher grits must be used with water for best results.
